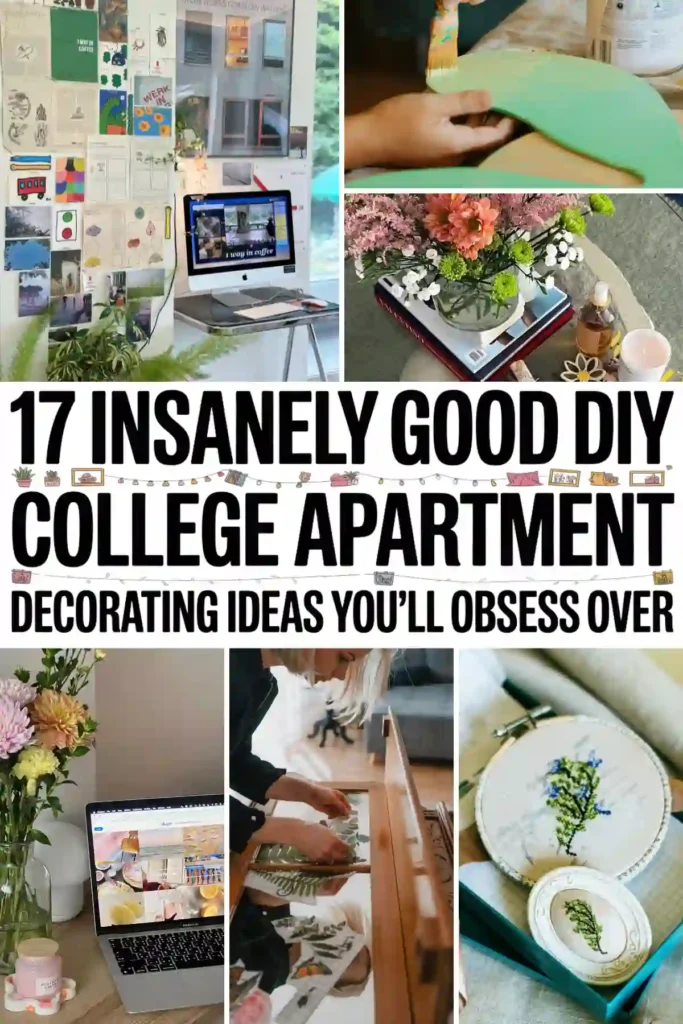
17 DIY College Apartment Decorating Ideas That Look Way More Expensive Than They Are
Looking for the best diy college apartment decorating ideas? Here are some decorating ideas, that you can do yourself, for your college apartment!
Here’s the truth nobody tells you about decorating your first college apartment: the Pinterest girls aren’t actually buying everything. They’re DIY-ing half of it. That cute floating shelf? Probably $8 worth of wood from Home Depot. That gallery wall that looks like it came from Anthropologie? Mostly free Etsy printables in thrifted frames. The painted arch behind their bed? A $5 sample of paint and a piece of string.
DIY isn’t just for craft-y people. It’s the cheat code for making your apartment look intentional and yours on a college budget — and most of these projects take a single afternoon and cost less than dinner out. Whether you’re a complete beginner or you’ve been hot-gluing things since you were 8, these DIY college apartment decorating ideas will actually transform your space without requiring power tools, talent, or your landlord’s approval.
I’ve broken everything down by what you’ll need, how long it takes, roughly how much you’ll spend, and a difficulty level — because nothing’s worse than starting a “10-minute project” and three hours later you’re crying on the floor surrounded by hot glue.
This post is all about diy college apartment decorating ideas.
Best DIY College Apartment Decorating Ideas:
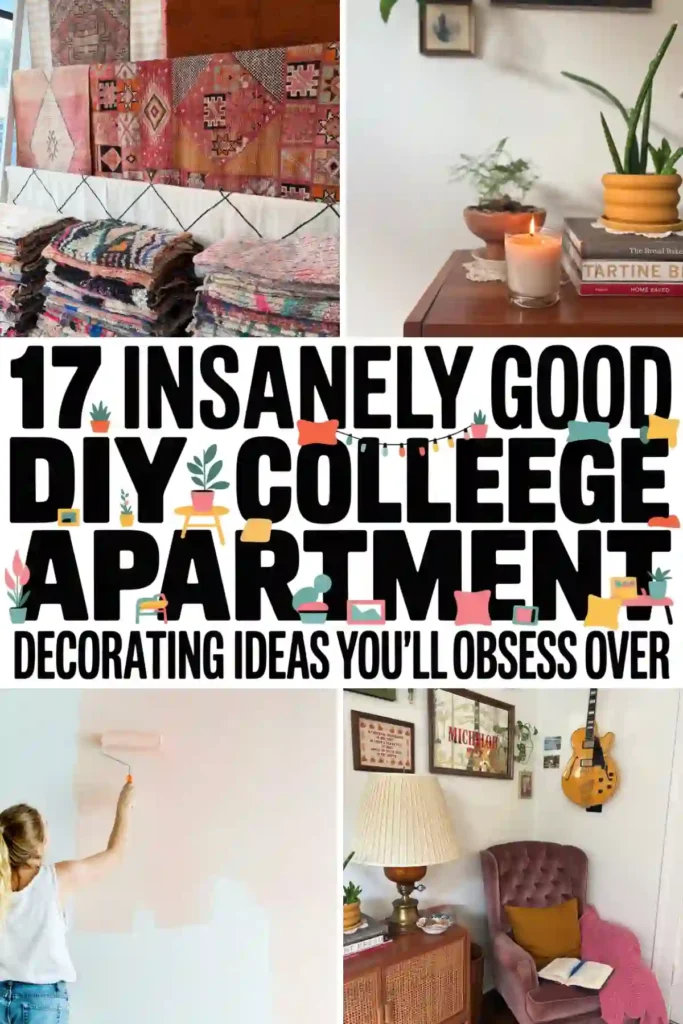
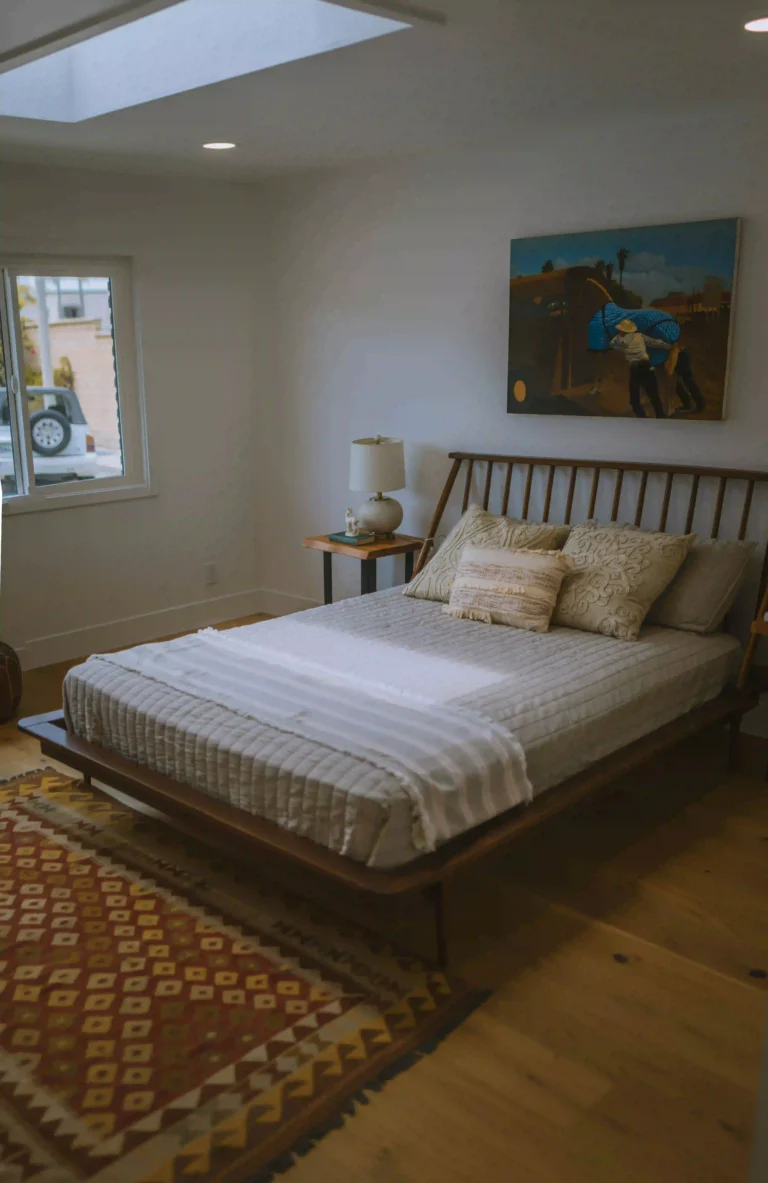
1. The Painted Arch Behind Your Bed (The Easiest Big-Impact Project)
This is THE viral DIY of the moment and for good reason — it makes your bed look like it has a built-in headboard for $10. You paint a half-circle arch directly on the wall behind your bed in a contrasting color, and it instantly looks like a designer space.
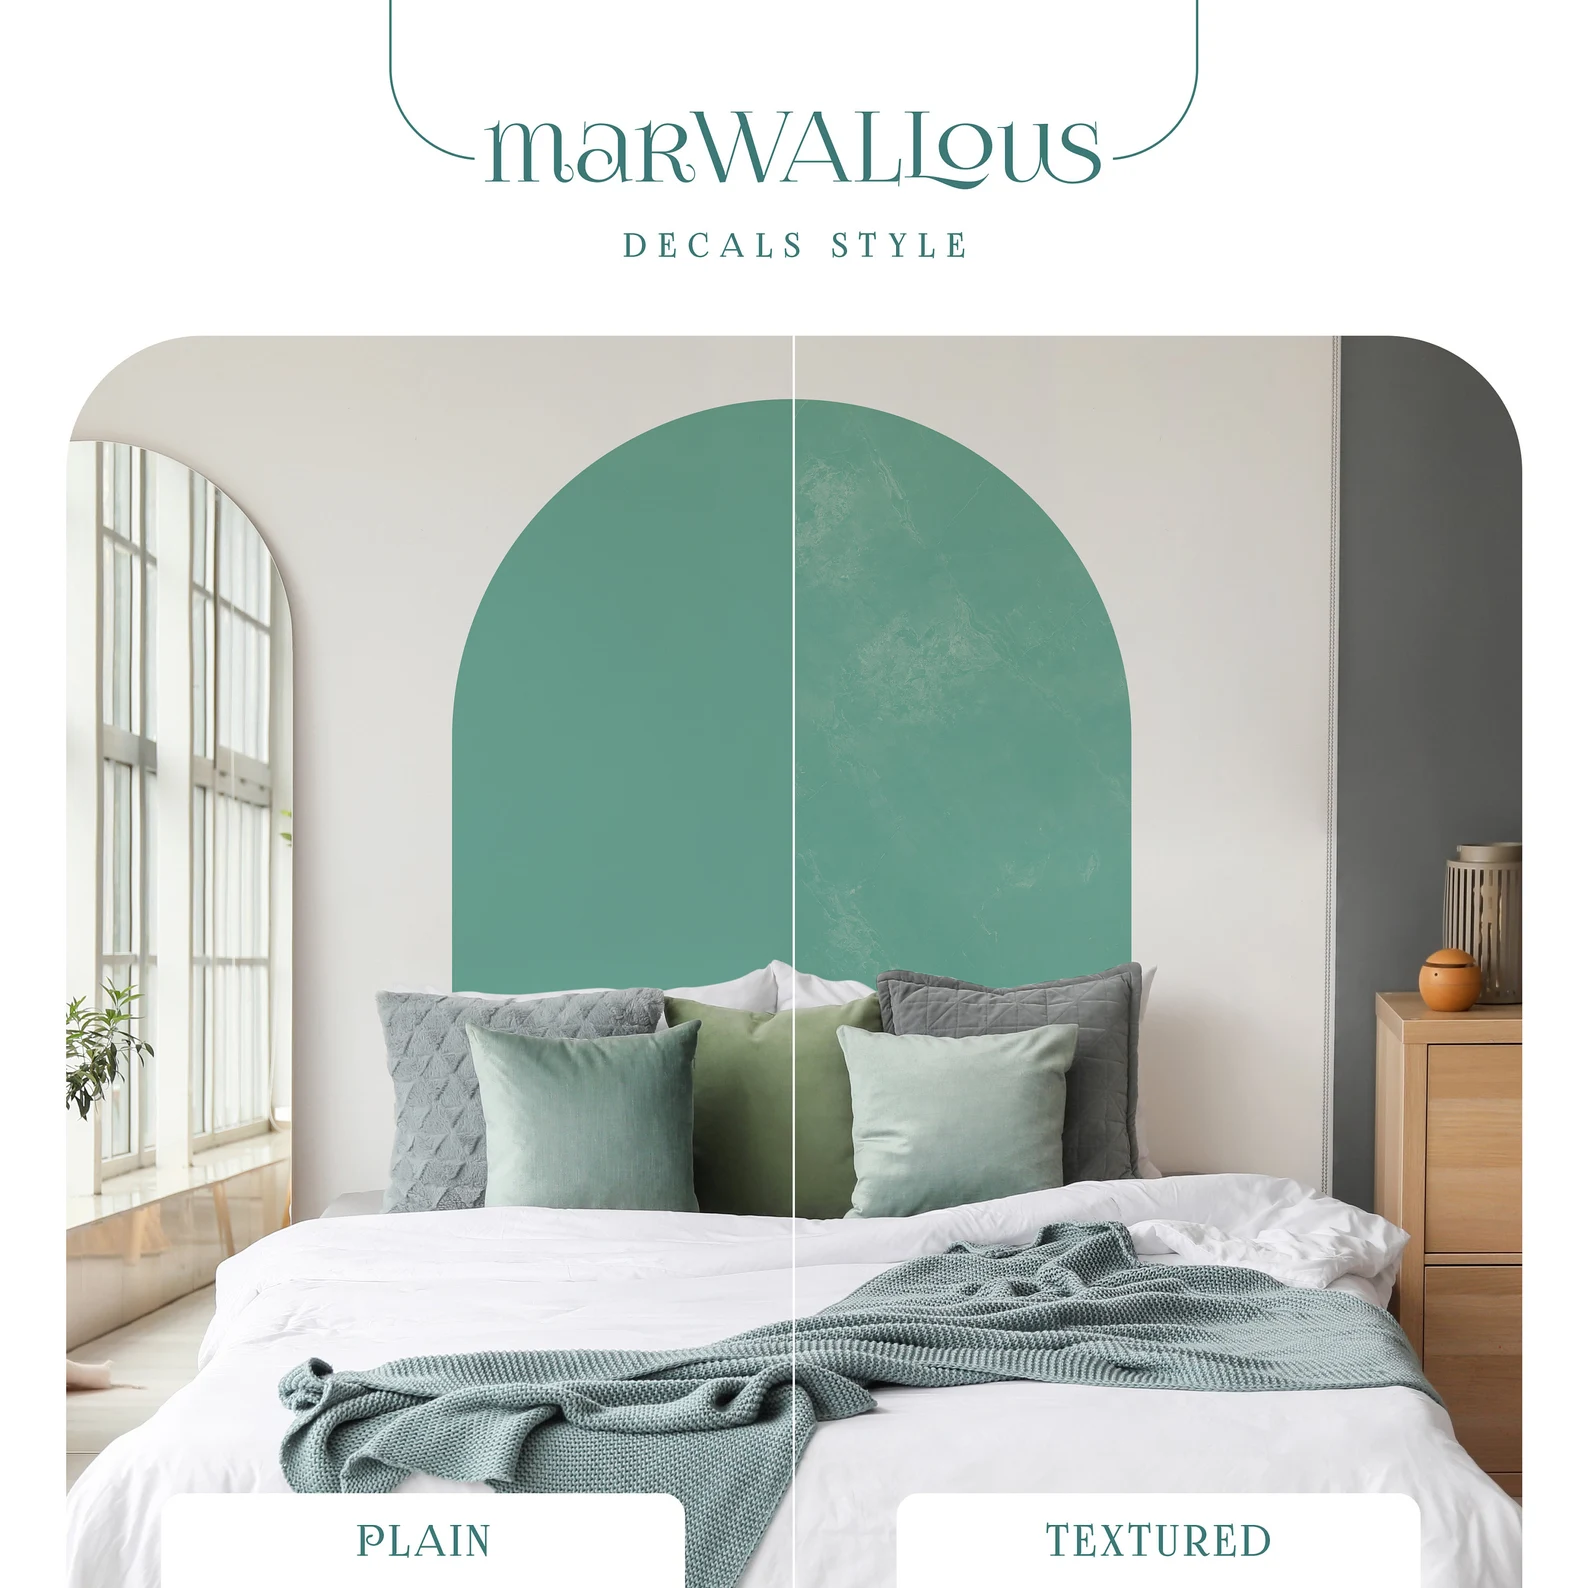
What you need: Sample-size paint pot ($5–8 at any hardware store), a piece of string, a pencil, a roller, painter’s tape How to do it: Tie the string to the pencil, hold the other end where you want the center of the arch to be (above and behind your bed), and draw a half-circle. Tape the edges, paint inside the lines, peel the tape, done. Cost: $10–15 Time: 1 hour + drying Difficulty: Beginner Renter tip: Use chalk paint or wall-friendly paint and your landlord will be way less mad. Or paint over it before you move out.
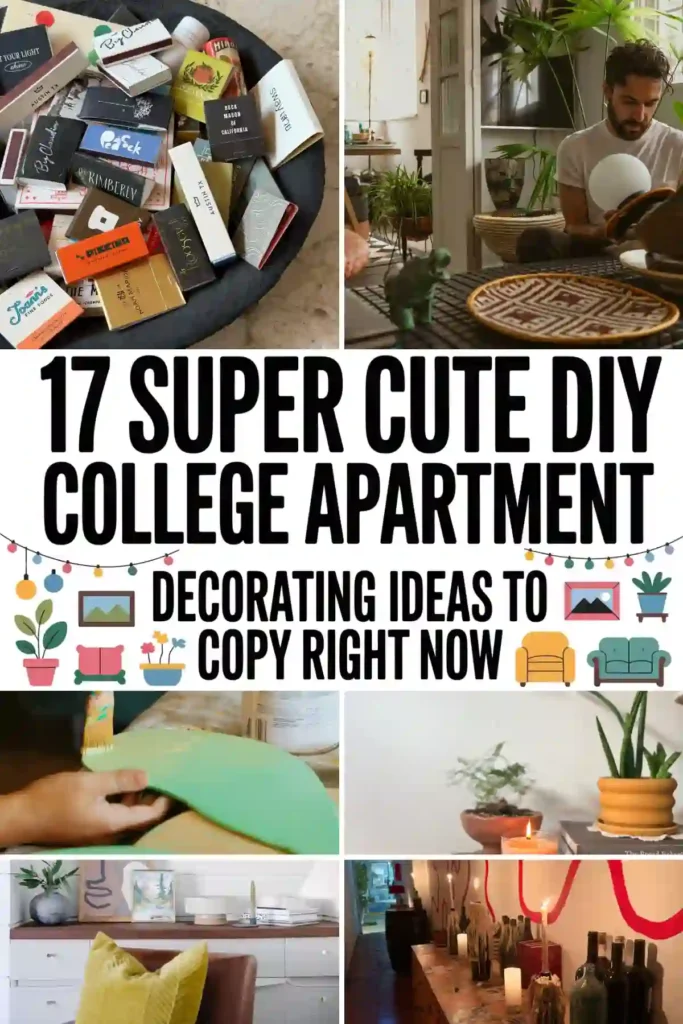
2. Air-Dry Clay Vases, Trays, and Catchalls
Air-dry clay is having a huge moment because it costs like $8 a bag, you don’t need a kiln, and the wonky handmade look is exactly what’s trending right now. Make a bedside catchall for your jewelry, a chunky vase, or a sculptural bowl for your coffee table.
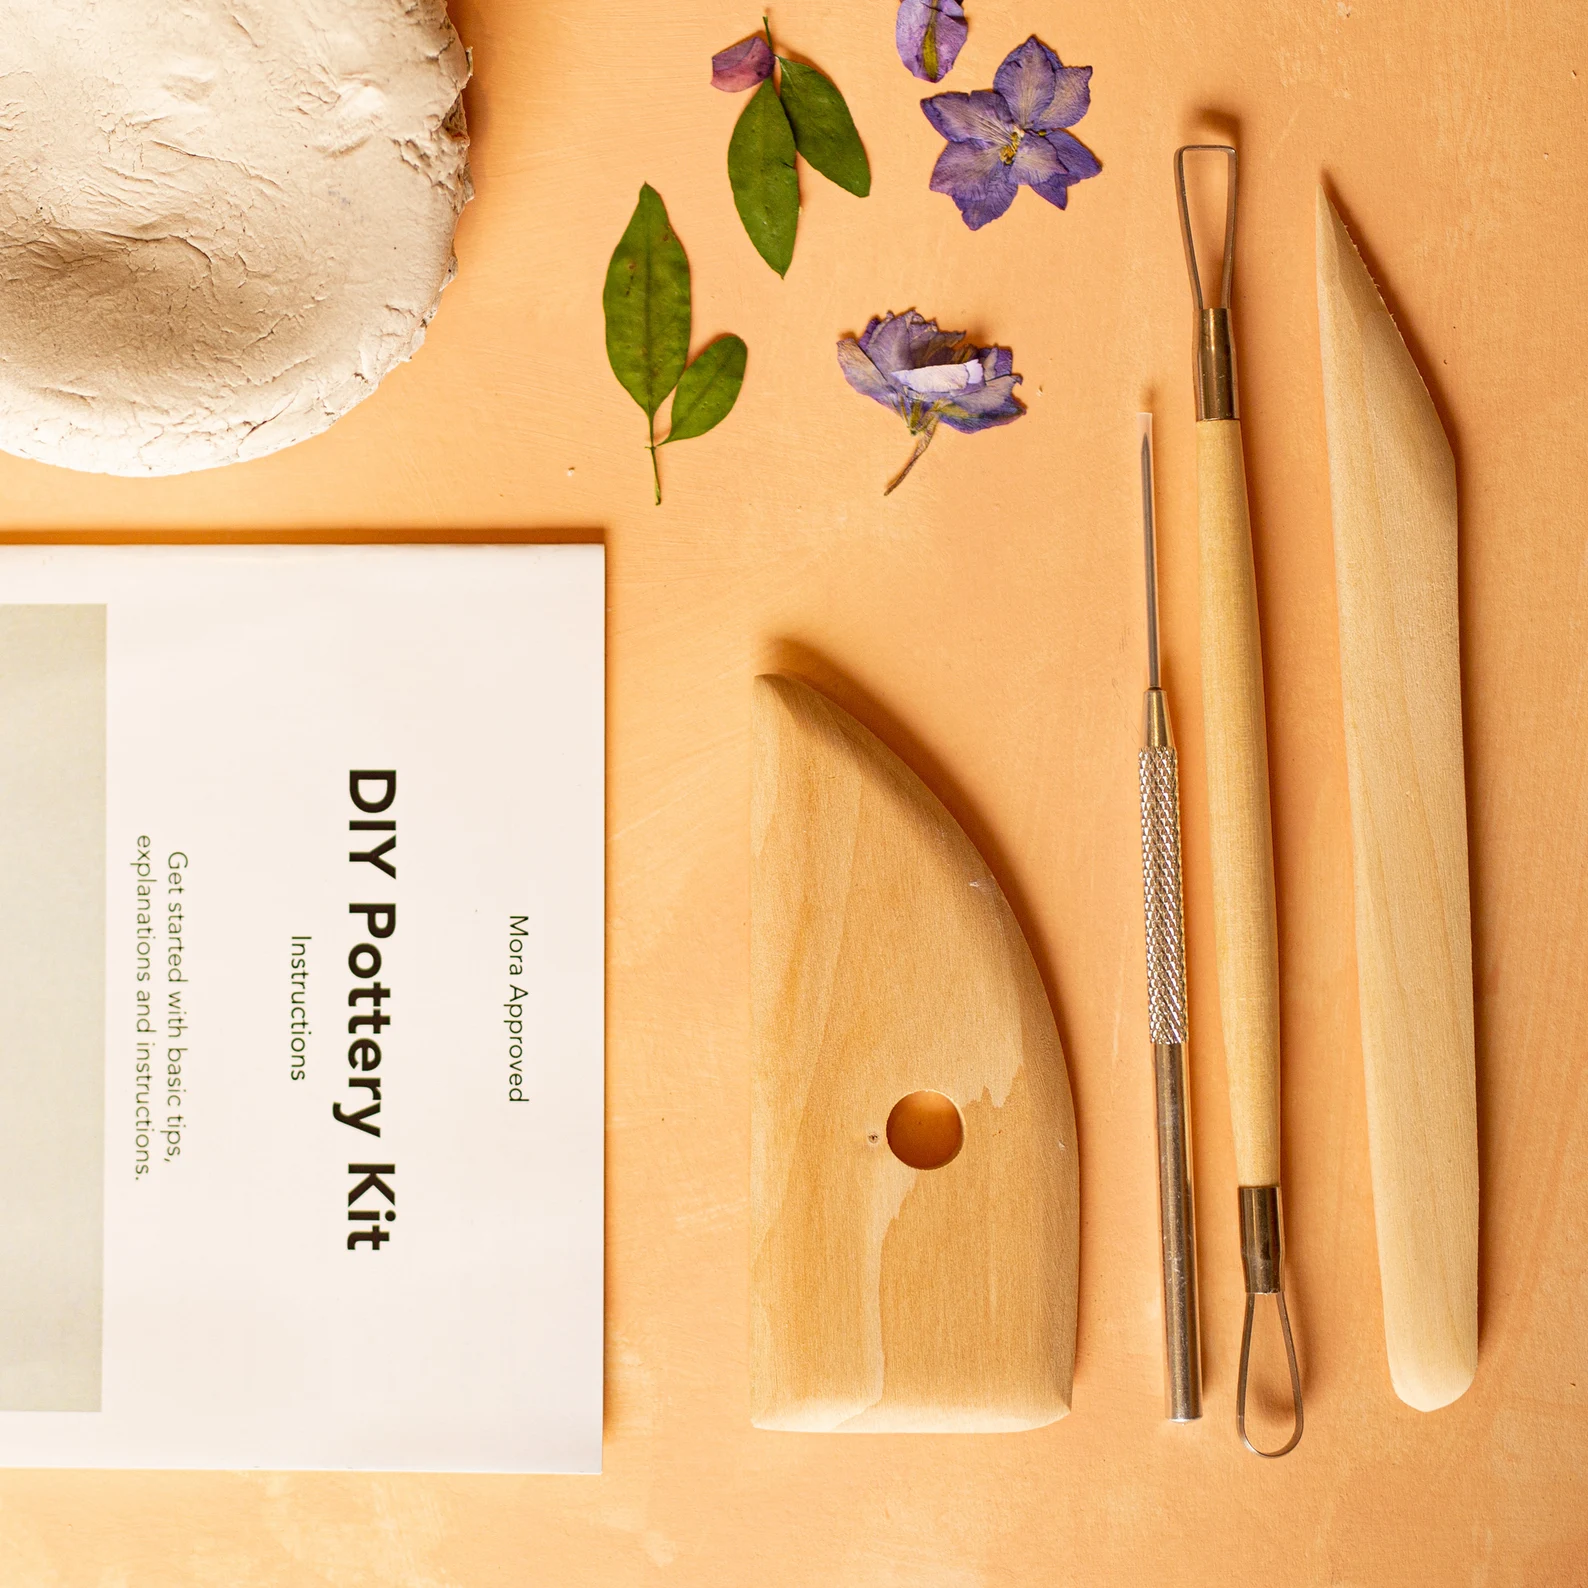
What you need: Air-dry clay (Crayola brand works fine), a sealant spray, acrylic paint if you want color How to do it: Roll out the clay, shape it however you want (look up “pinch pot” for the easiest version), let it dry 24–48 hours, paint, seal. Cost: $15 total for supplies that’ll make 3–4 pieces Time: 30 mins active + 2 days drying Difficulty: Beginner Where to shop supplies: Amazon for the clay and sealant — search “air dry clay starter kit”
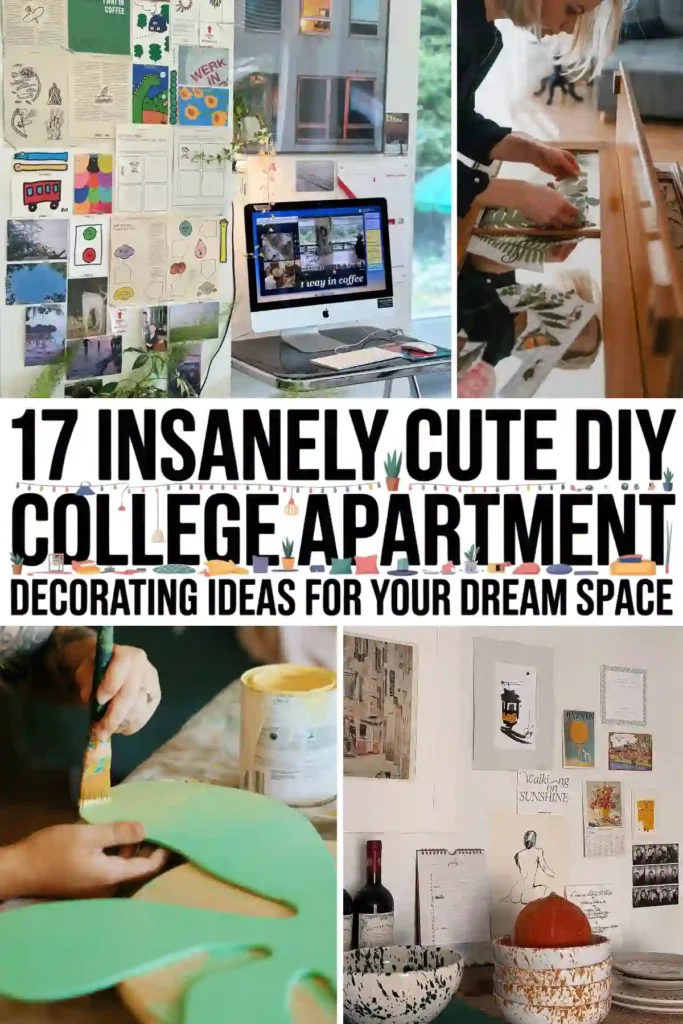
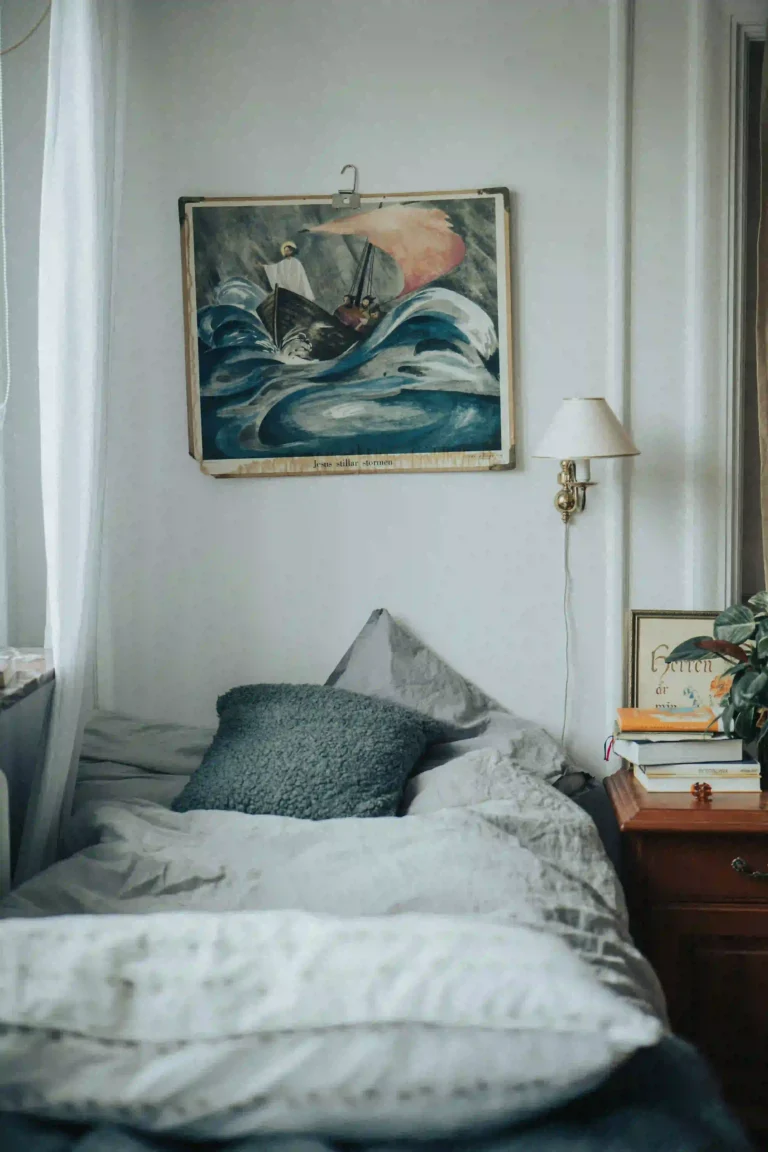
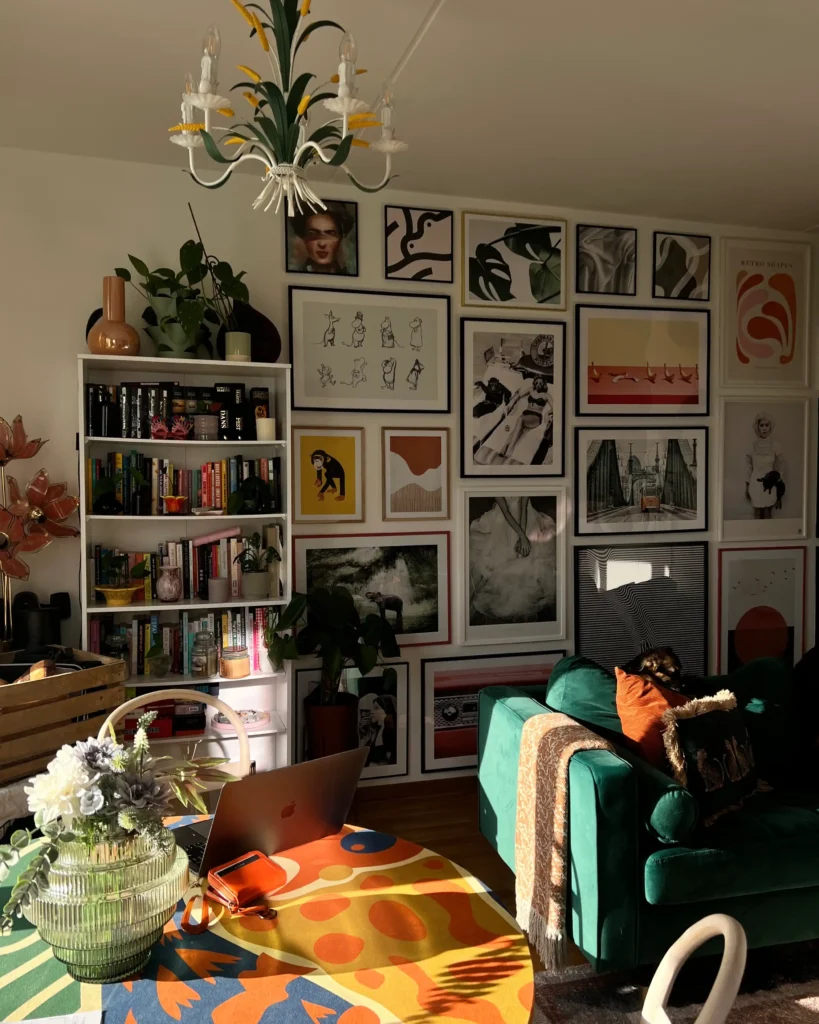
3. Build-Your-Own Gallery Wall (The Right Way)
Everyone says “make a gallery wall” and then doesn’t tell you how. The secret: pick a theme (color palette, type of art, vibe) and stick to it, mix frame styles for visual interest, and lay it out on the floor before you put a single nail in the wall.
What you need: 5–9 frames in various sizes (Amazon basics + thrifted finds = best mix), free printable art from Etsy or Pinterest, painter’s tape, command strips How to do it: Choose your theme (e.g., warm neutrals, all black-and-white photos, vintage-style portraits). Print art at home or at Staples ($1–3 per print). Lay it all out on the floor first. Trace each frame on butcher paper, tape the paper to the wall, and adjust until you love it. Then hang. Cost: $30–60 Time: 2–3 hours Difficulty: Beginner Pro tip: Vintage thicker frames are more on-trend right now than thin black ones.
4. Thrifted Frame Glow-Up
Speaking of frames — go to Goodwill, buy 5 ugly old frames for $2 each, spray paint them all the same color (cream, black, or warm brown), and suddenly you have a $50-looking gallery wall for $15.
What you need: Thrifted frames, spray paint (Rust-Oleum is the gold standard), a drop cloth or trash bag How to do it: Spray outside or in a well-ventilated area. Two thin coats > one thick coat. Let dry overnight. Cost: $15–20 total Time: 30 mins + drying Difficulty: Beginner
5. DIY Wall Plates (The 2026 Trend Nobody’s Doing Yet)
Decorative plates on the wall used to be a grandma thing but they’re back in a major way. Thrift stores are full of pretty vintage plates for $1–3 each, and the look is so unique and charming.
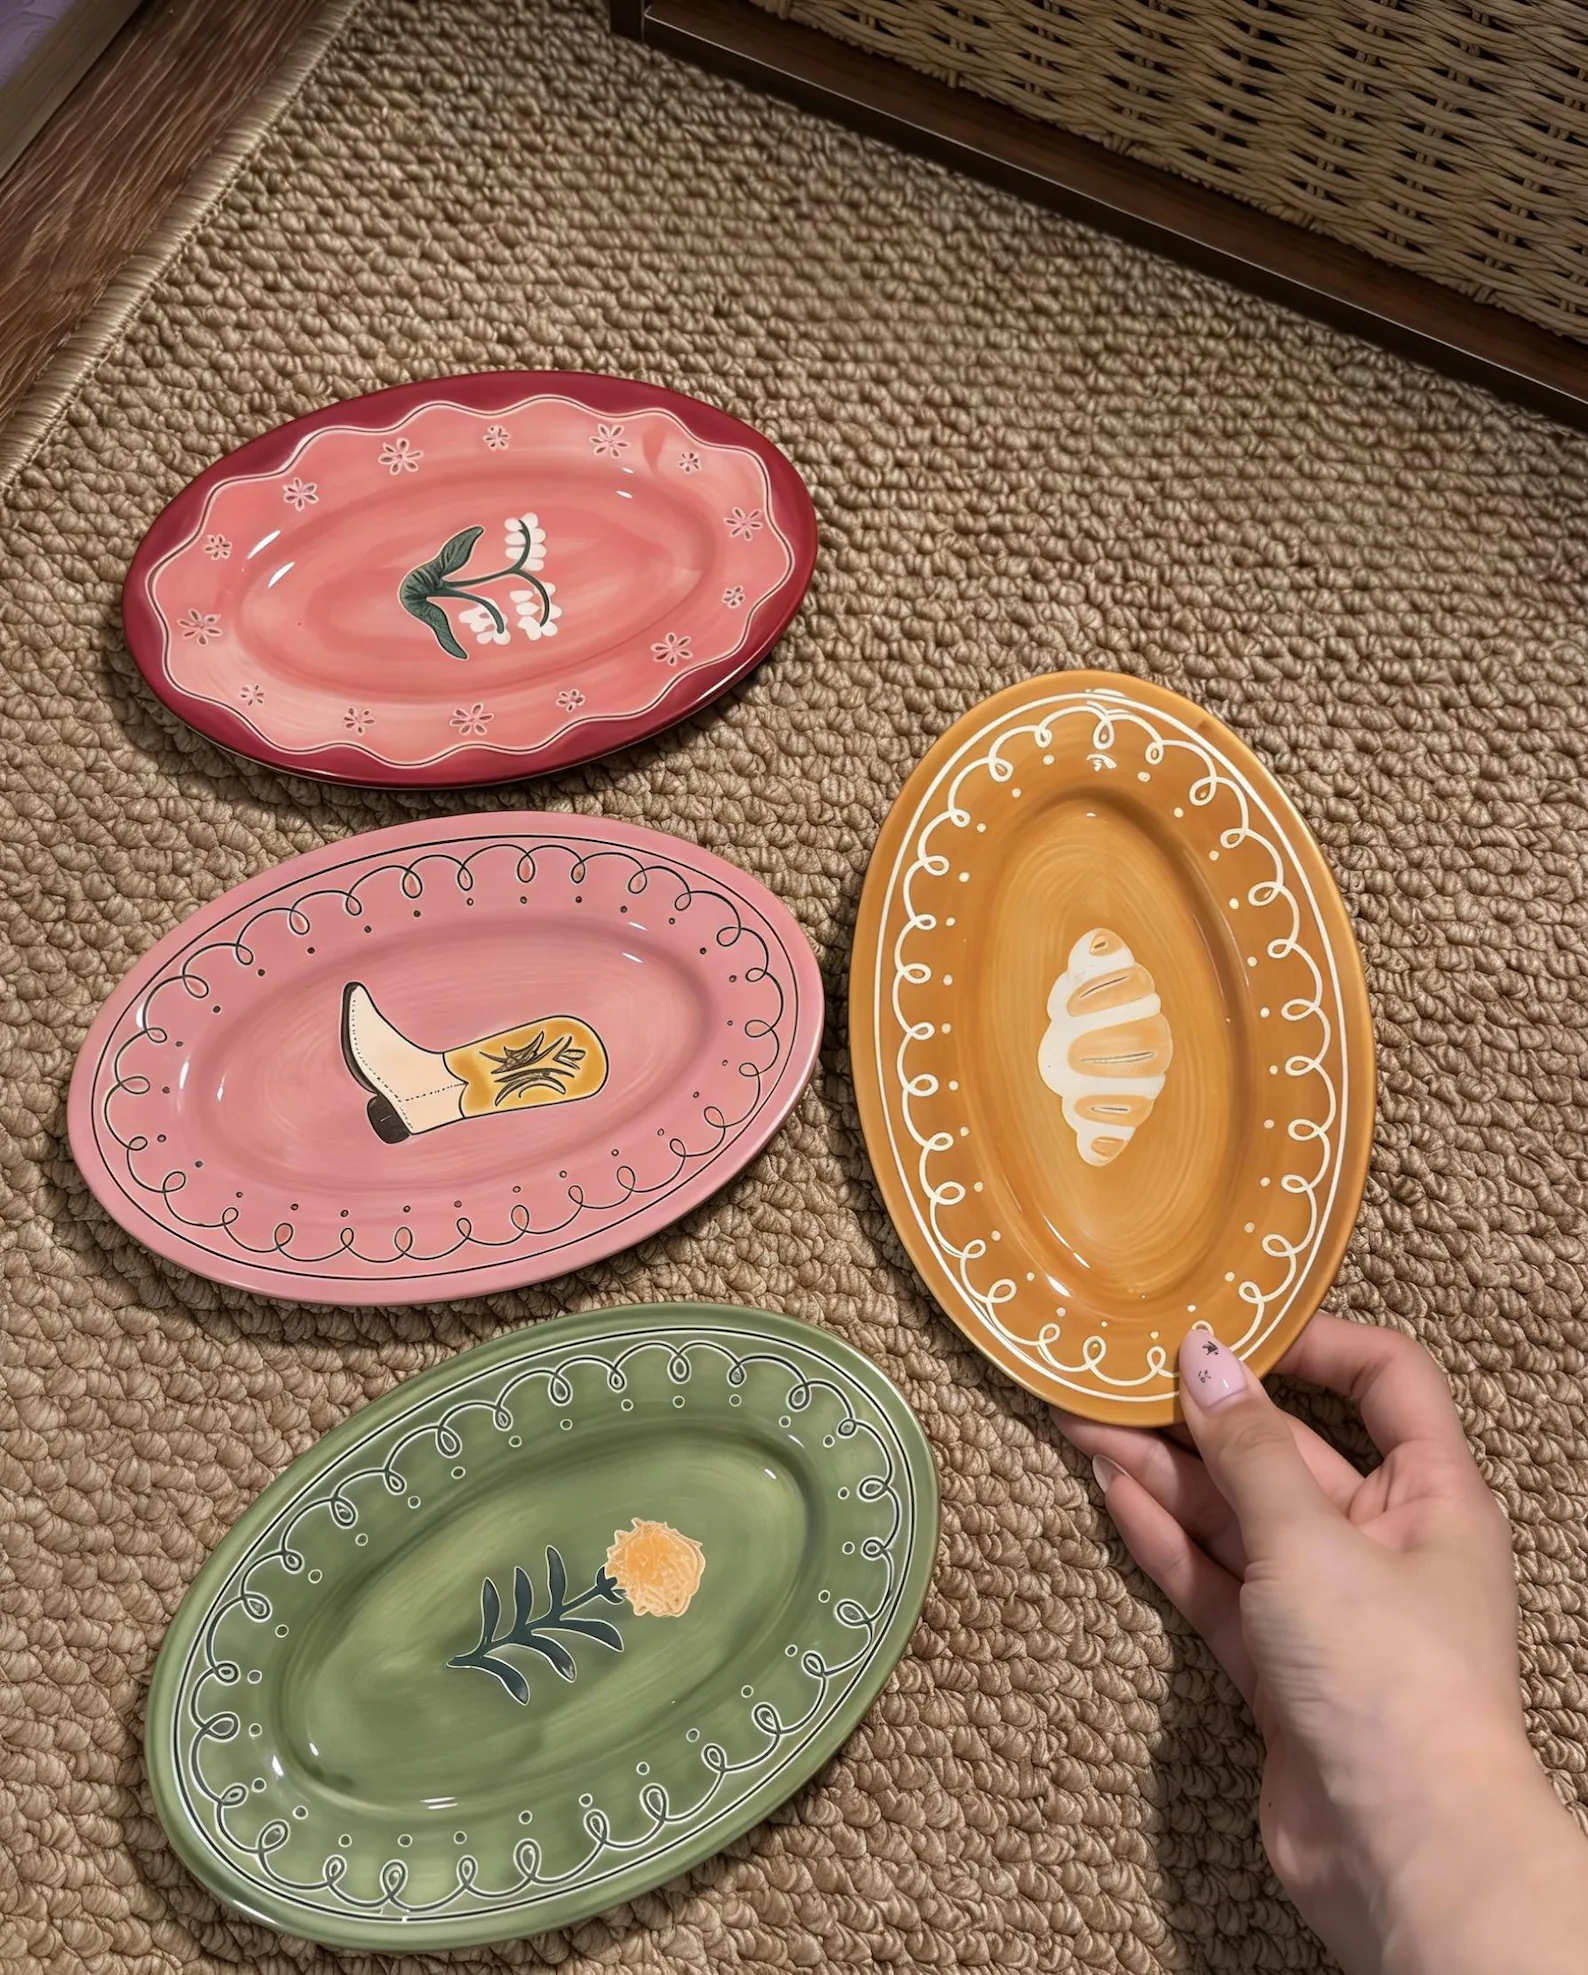
What you need: 5–8 vintage plates from a thrift store, adhesive plate hangers (Amazon, $10 for a pack) How to do it: Choose plates in a consistent color palette (blues, neutrals, etc.) but vary the sizes and patterns. Lay out on the floor first. Use the adhesive hangers — no drilling required. Cost: $15–25 Time: 1 hour Difficulty: Beginner
6. Upcycled Thrift Store Lamp
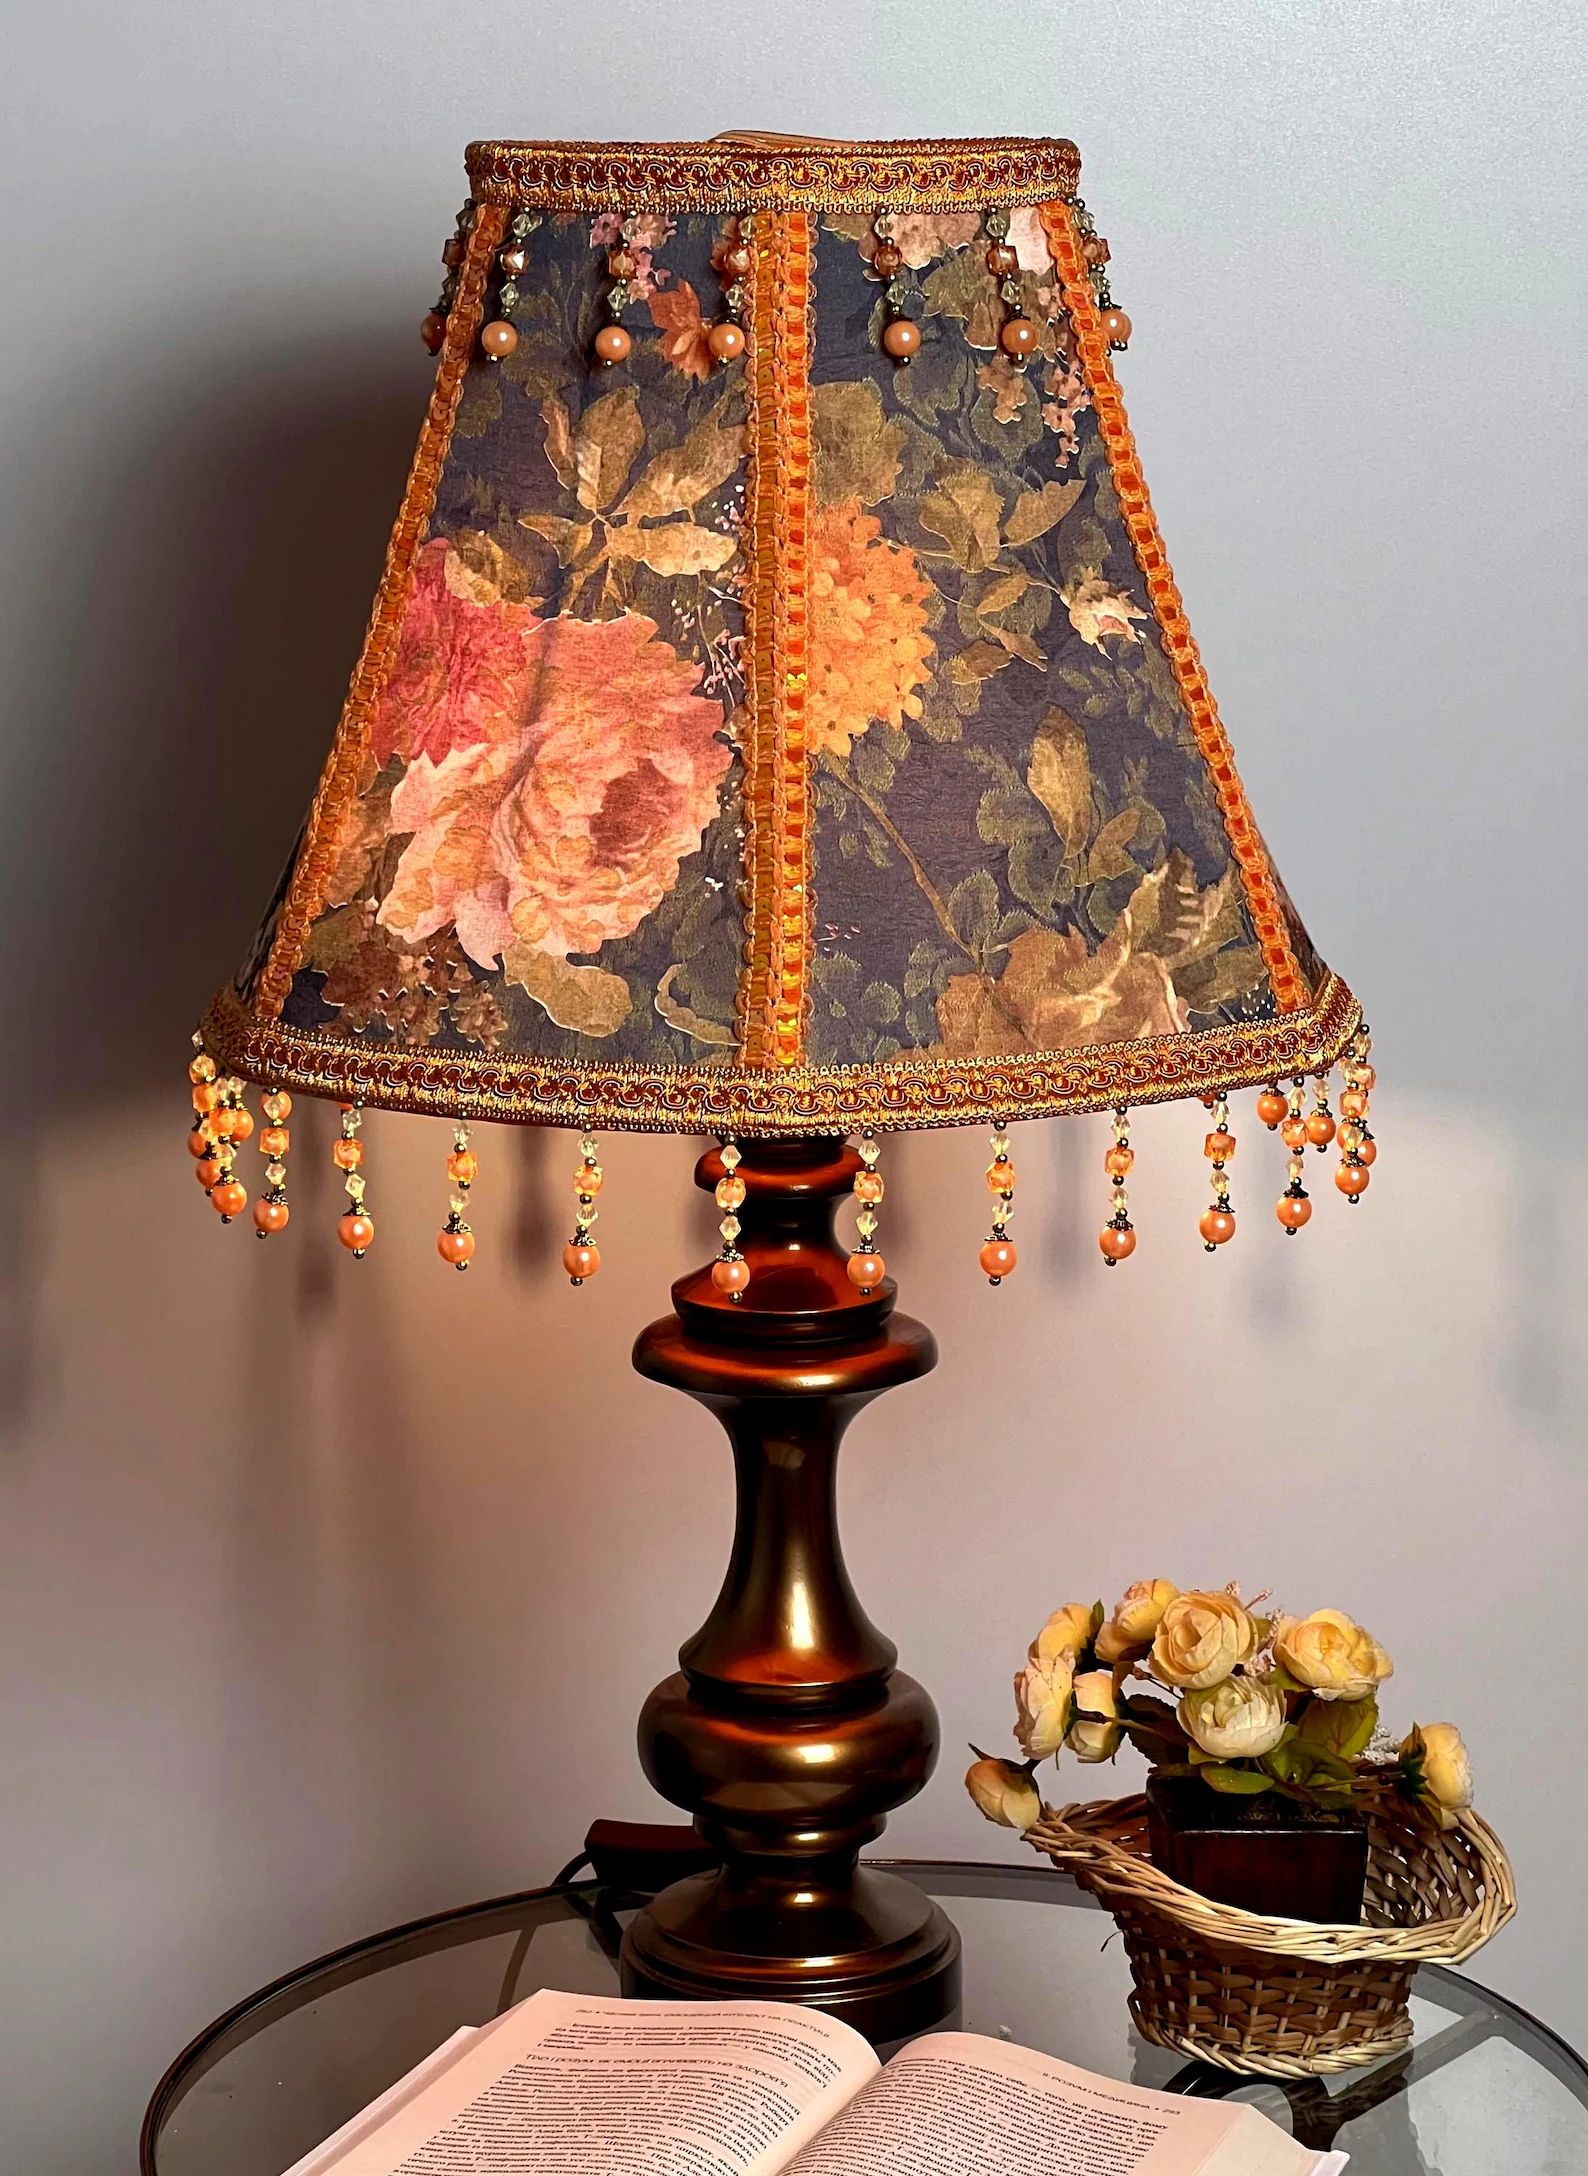
Lamps from thrift stores are usually ugly but well-made. Spray paint the base, swap out the shade for a new one (Amazon has cute pleated and linen ones for $15–20), and you have a $100-looking lamp for $25.
What you need: Thrifted lamp ($5–10), spray paint, a new lampshade How to do it: Tape off the cord and bulb socket. Spray paint the base. Let dry. Add new shade. Cost: $25–35 Time: 1 hour + drying Difficulty: Beginner
7. Cane Webbing Cabinet Front (For That Boring Apartment Furniture)
If you have an ugly IKEA-style nightstand or bookshelf with flat doors, you can glue cane webbing to the front for an instant designer furniture look. Cane is everywhere right now.
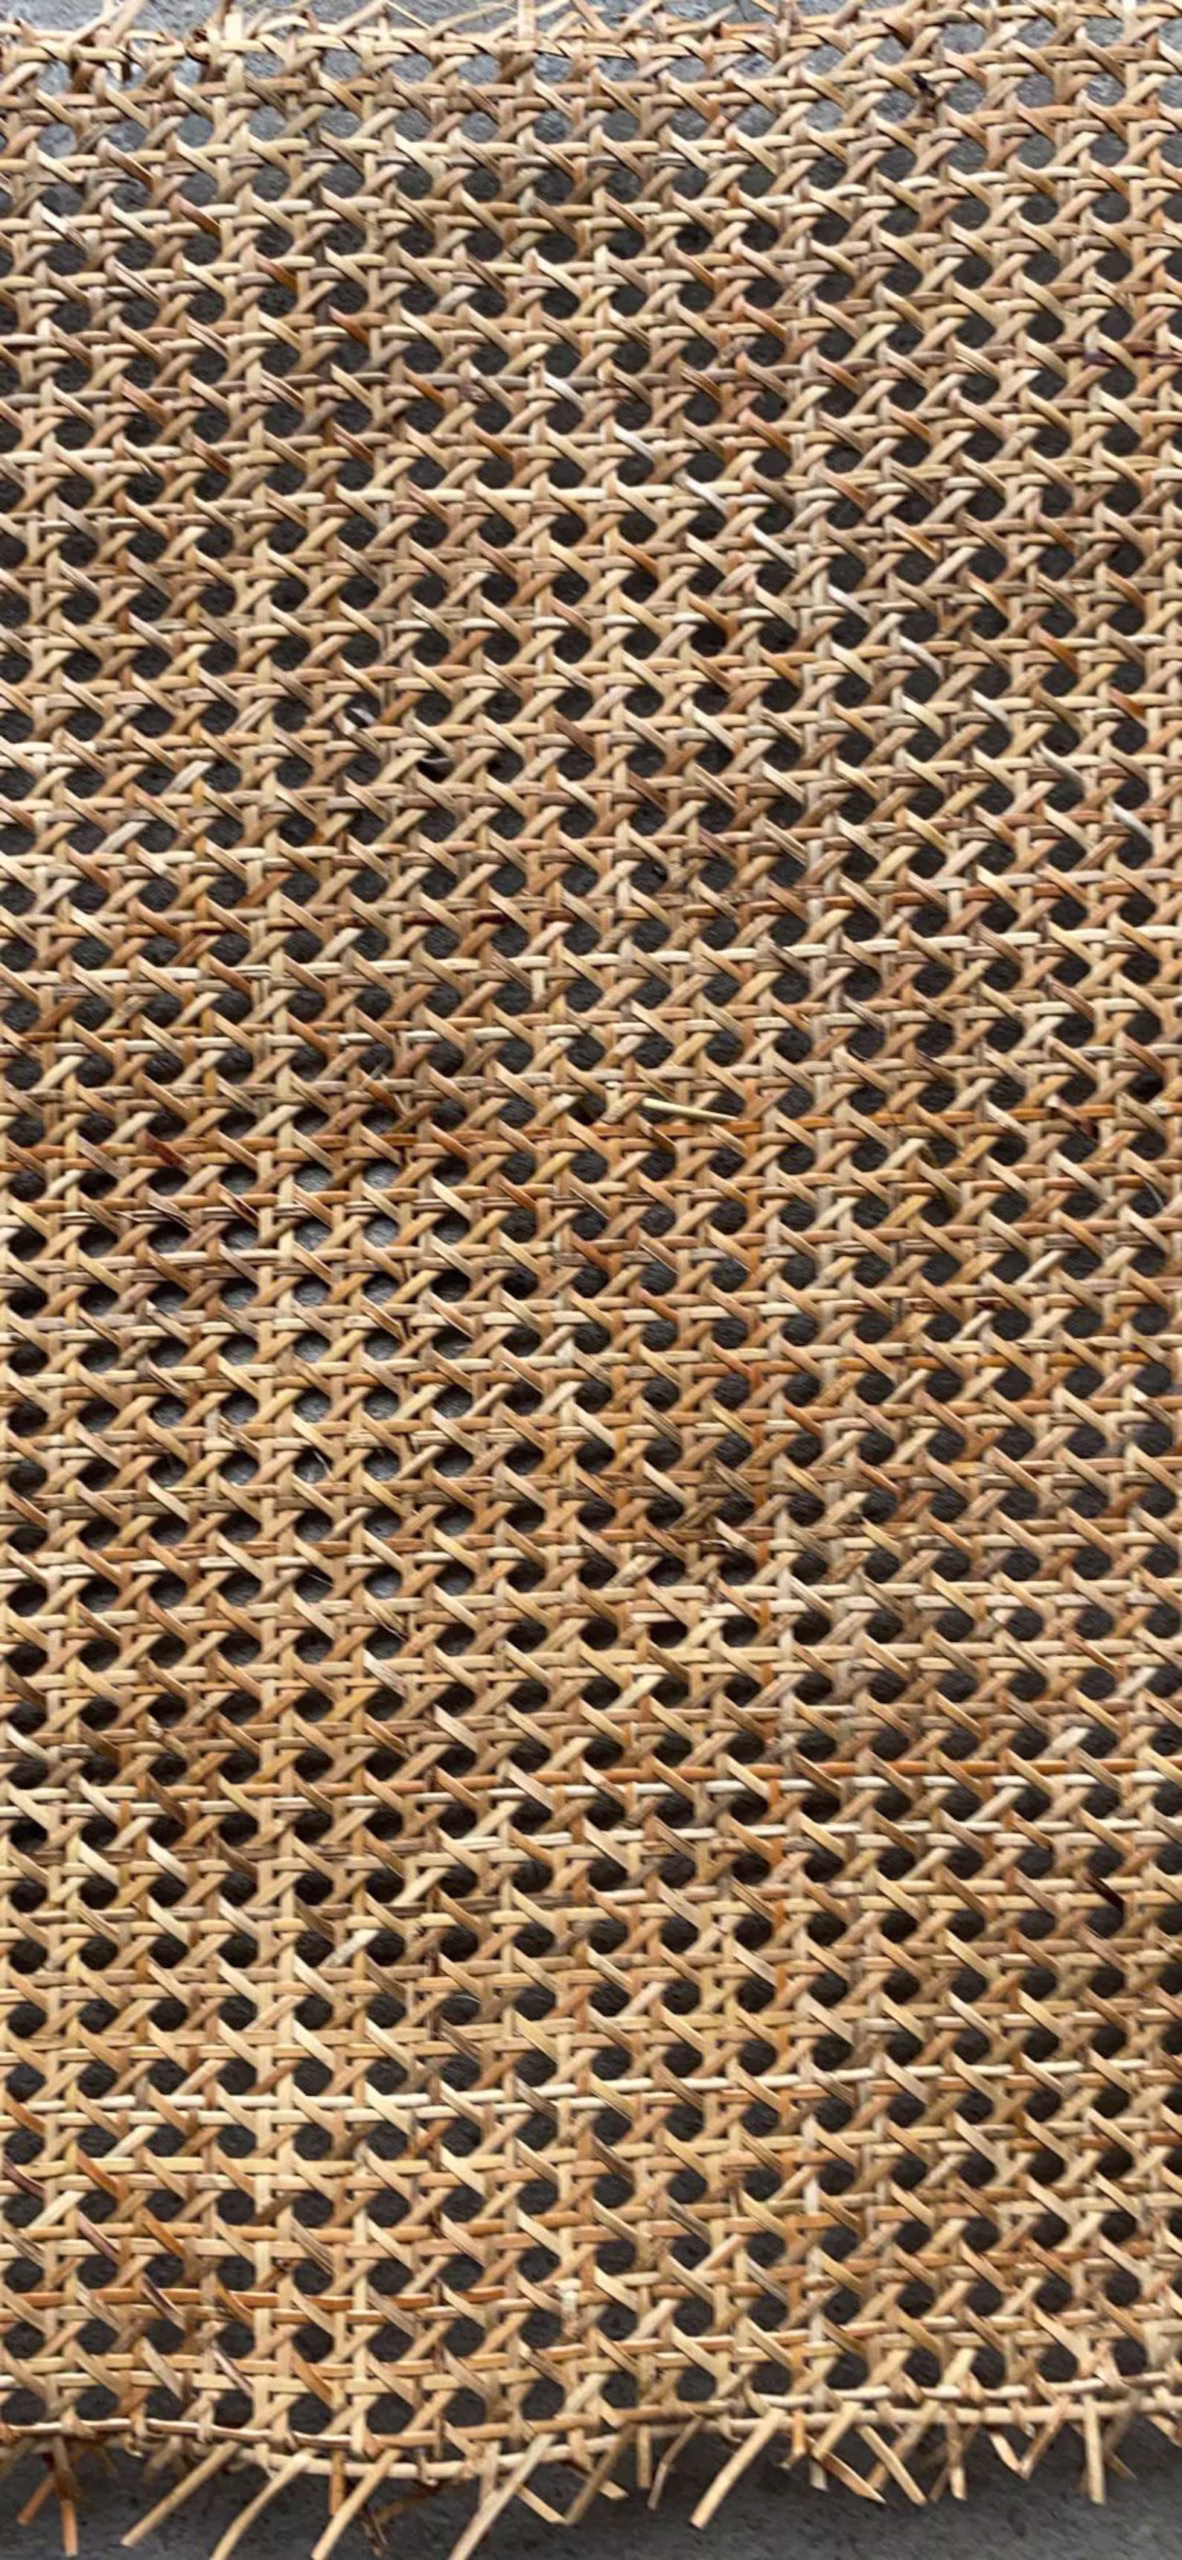
What you need: Roll of cane webbing (Amazon, $15–25), wood glue, scissors, and a flat-fronted piece of furniture How to do it: Cut cane to size, soak in water for 30 mins to make pliable, glue to the front of the cabinet door, let dry. Cost: $25 Time: 1 hour + drying Difficulty: Intermediate
8. DIY Floating Shelves
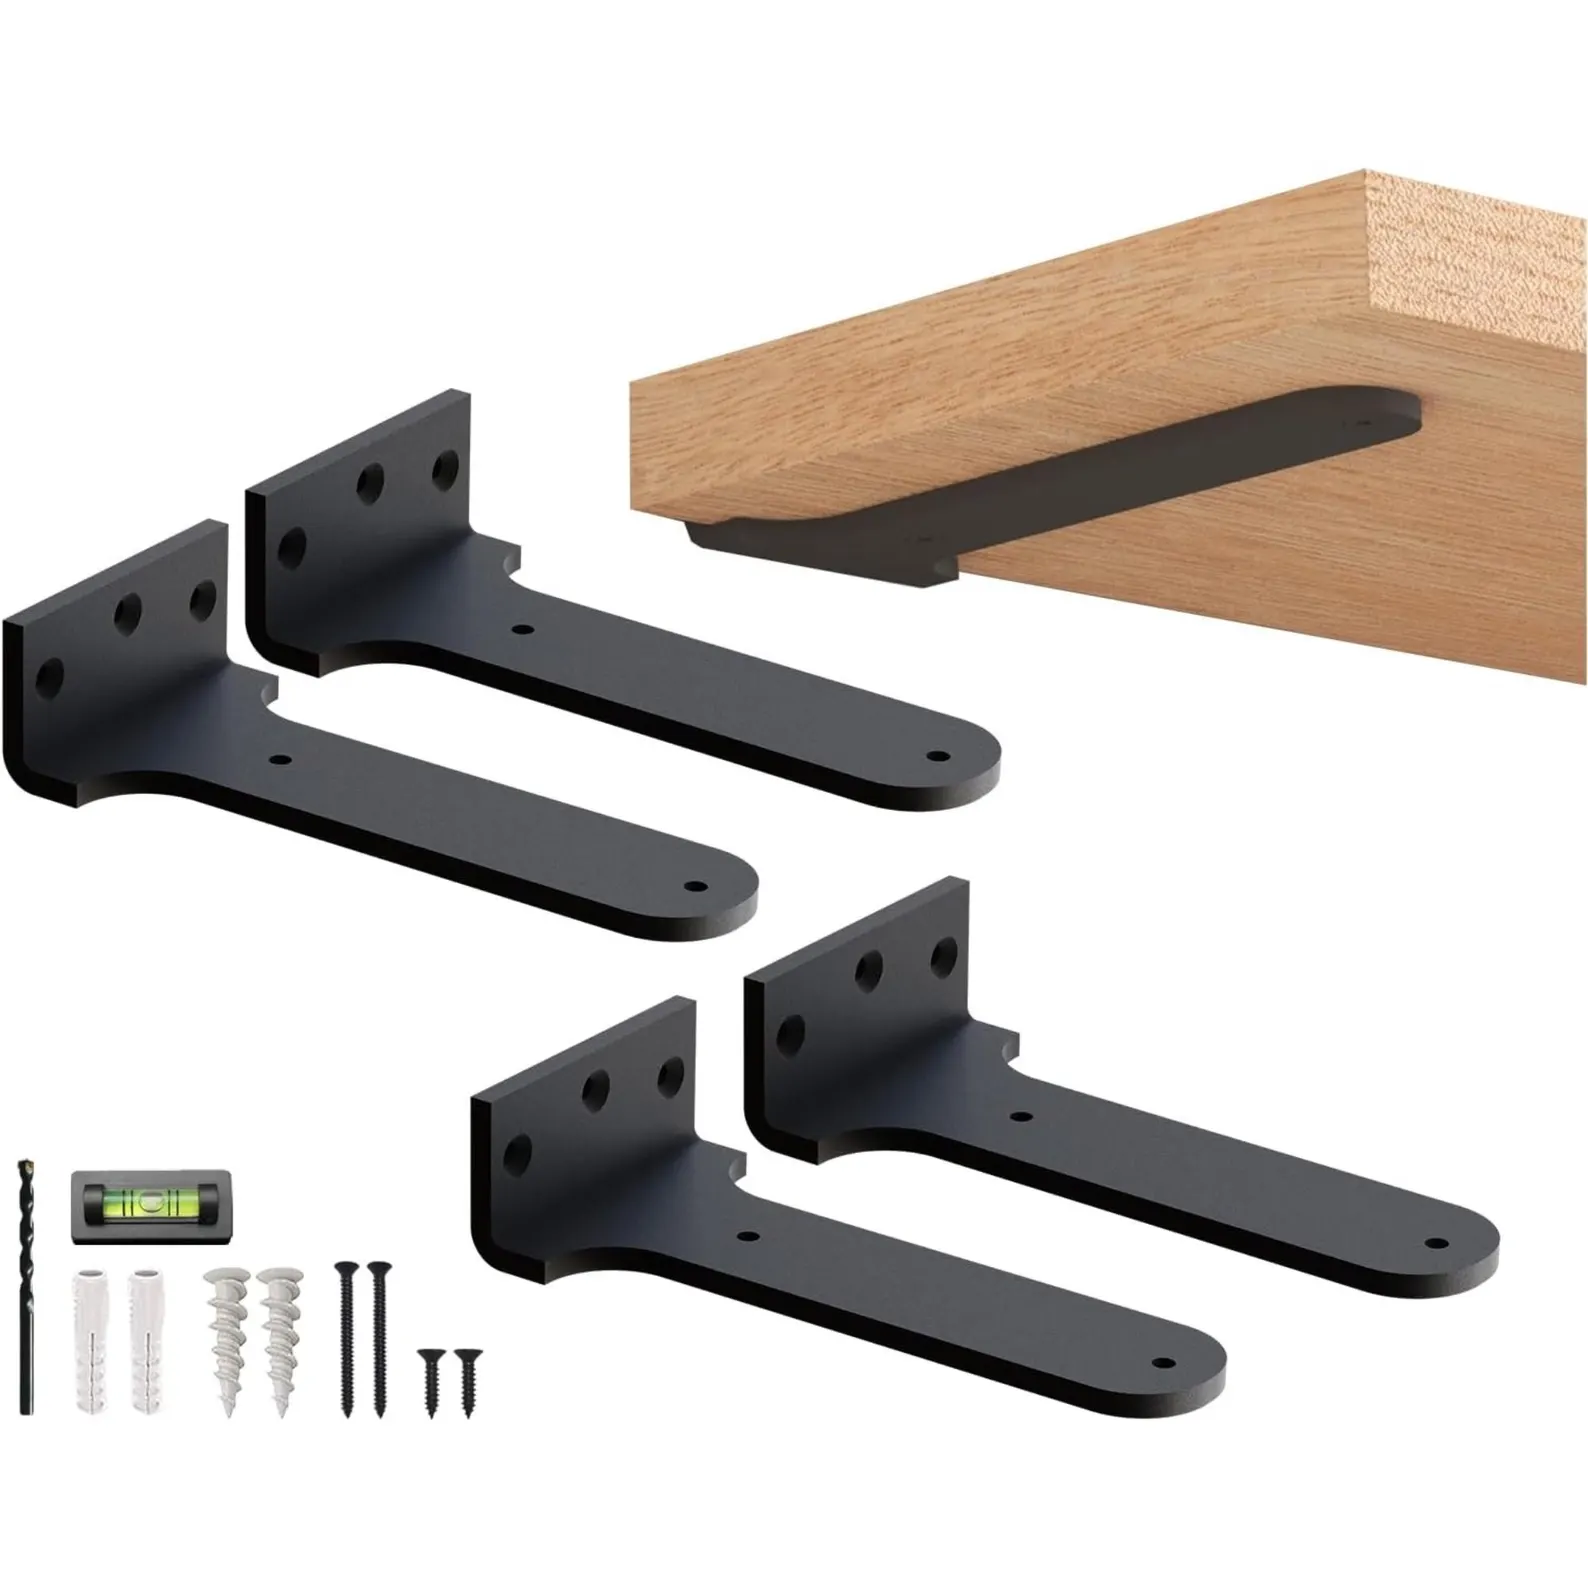
Floating shelves are stupidly easy to make and instantly add storage and styling space. Use them above your desk, in your kitchen, or in your bathroom.
What you need: Pre-cut wood boards (Home Depot will cut to size for free), floating shelf brackets (Amazon, $15 a pair), a level, screws, a stud finder How to do it: Stain or paint the wood. Install brackets. Slide the shelf onto the brackets. Cost: $25–40 per shelf Time: 1 hour Difficulty: Intermediate Style tip: Style with: 2 books stacked + a small plant + one decorative object. That’s the formula.
9. Storage Ottoman from a Cube and Fabric
A storage ottoman is the most useful piece of furniture in a college apartment — extra seating, footrest, hidden storage for blankets — and you can DIY one for under $30.
What you need: A wooden or fabric storage cube (Target or IKEA, $20), foam padding, fabric you love (an old curtain or thrifted fabric works), a staple gun How to do it: Cut the foam to size, place on top of the cube lid, wrap with fabric, staple underneath. Done. Cost: $30 Time: 45 mins Difficulty: Beginner
10. Peel-and-Stick Backsplash
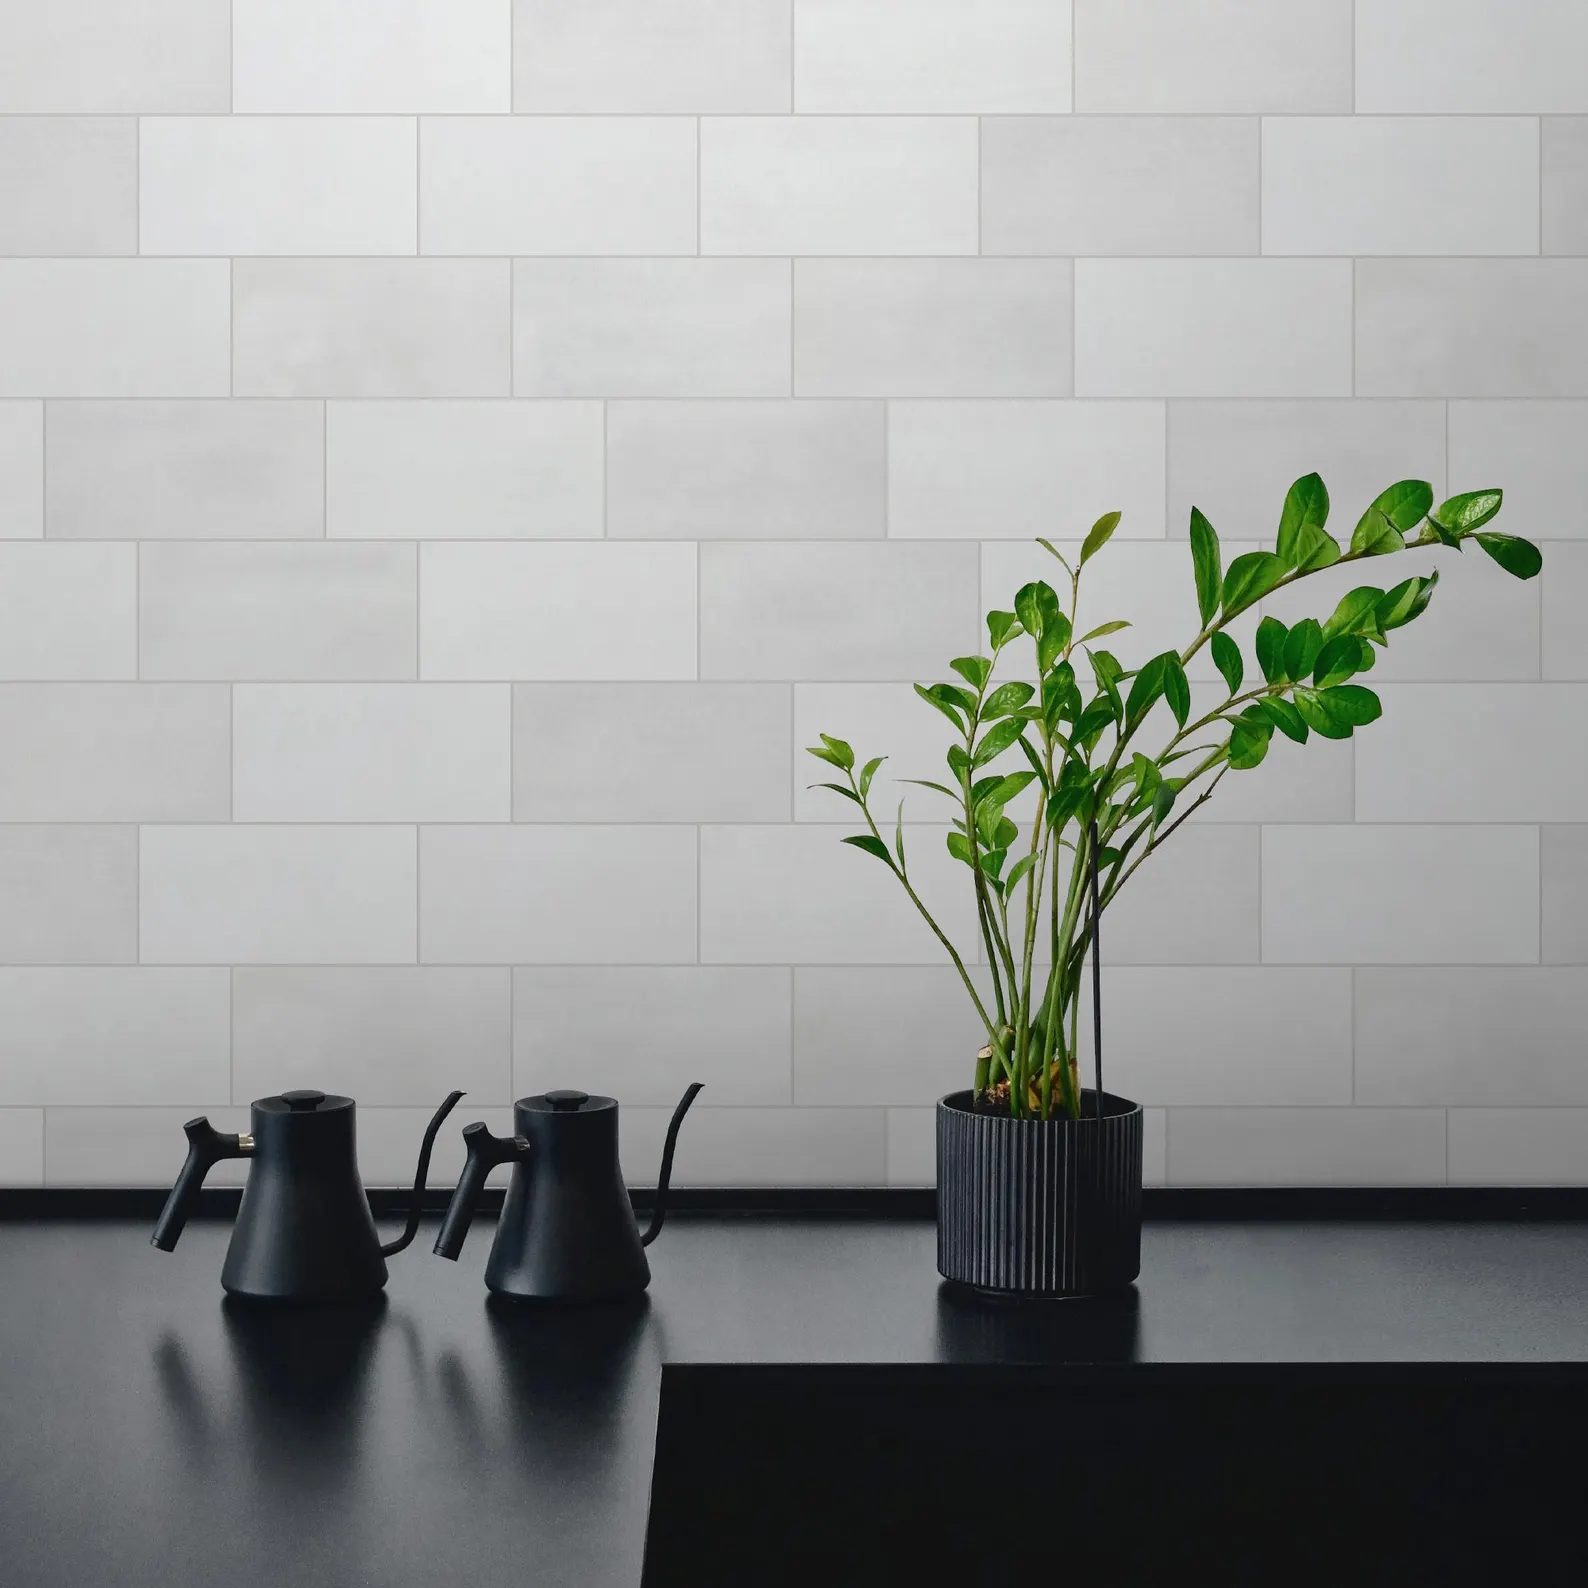
If your apartment kitchen has a sad, dated backsplash (or no backsplash at all), peel-and-stick tile is a renter’s best friend. It looks shockingly real, peels off when you move out, and takes one afternoon.
What you need: Peel-and-stick tile sheets (Amazon, around $40–60 for a kitchen-sized area), a utility knife, a ruler How to do it: Clean your existing surface, measure, cut tiles, and stick. Trim around outlets. Cost: $40–60 Time: 2–3 hours Difficulty: Beginner
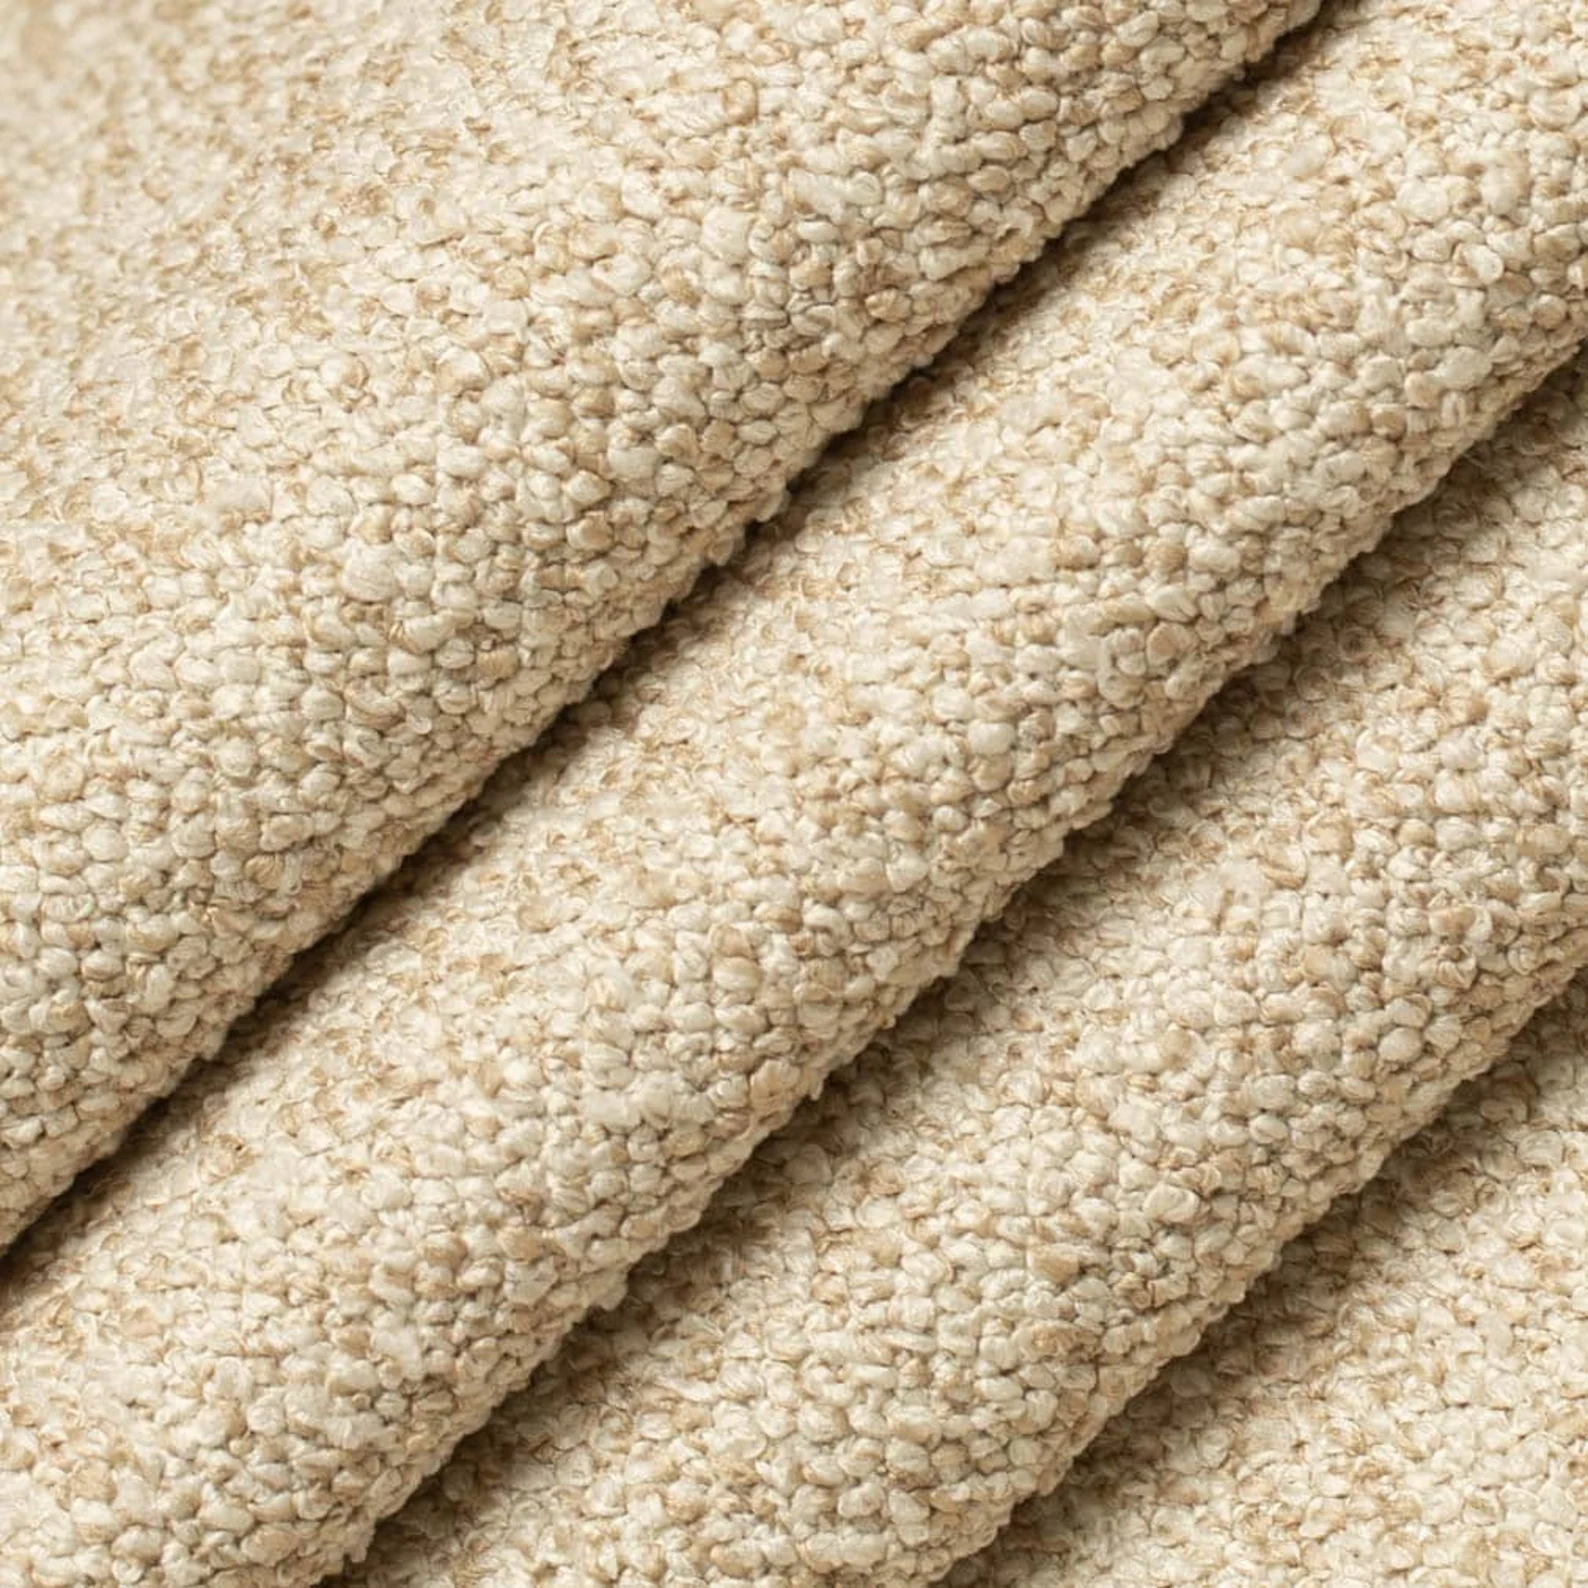
11. Custom Throw Pillow Covers
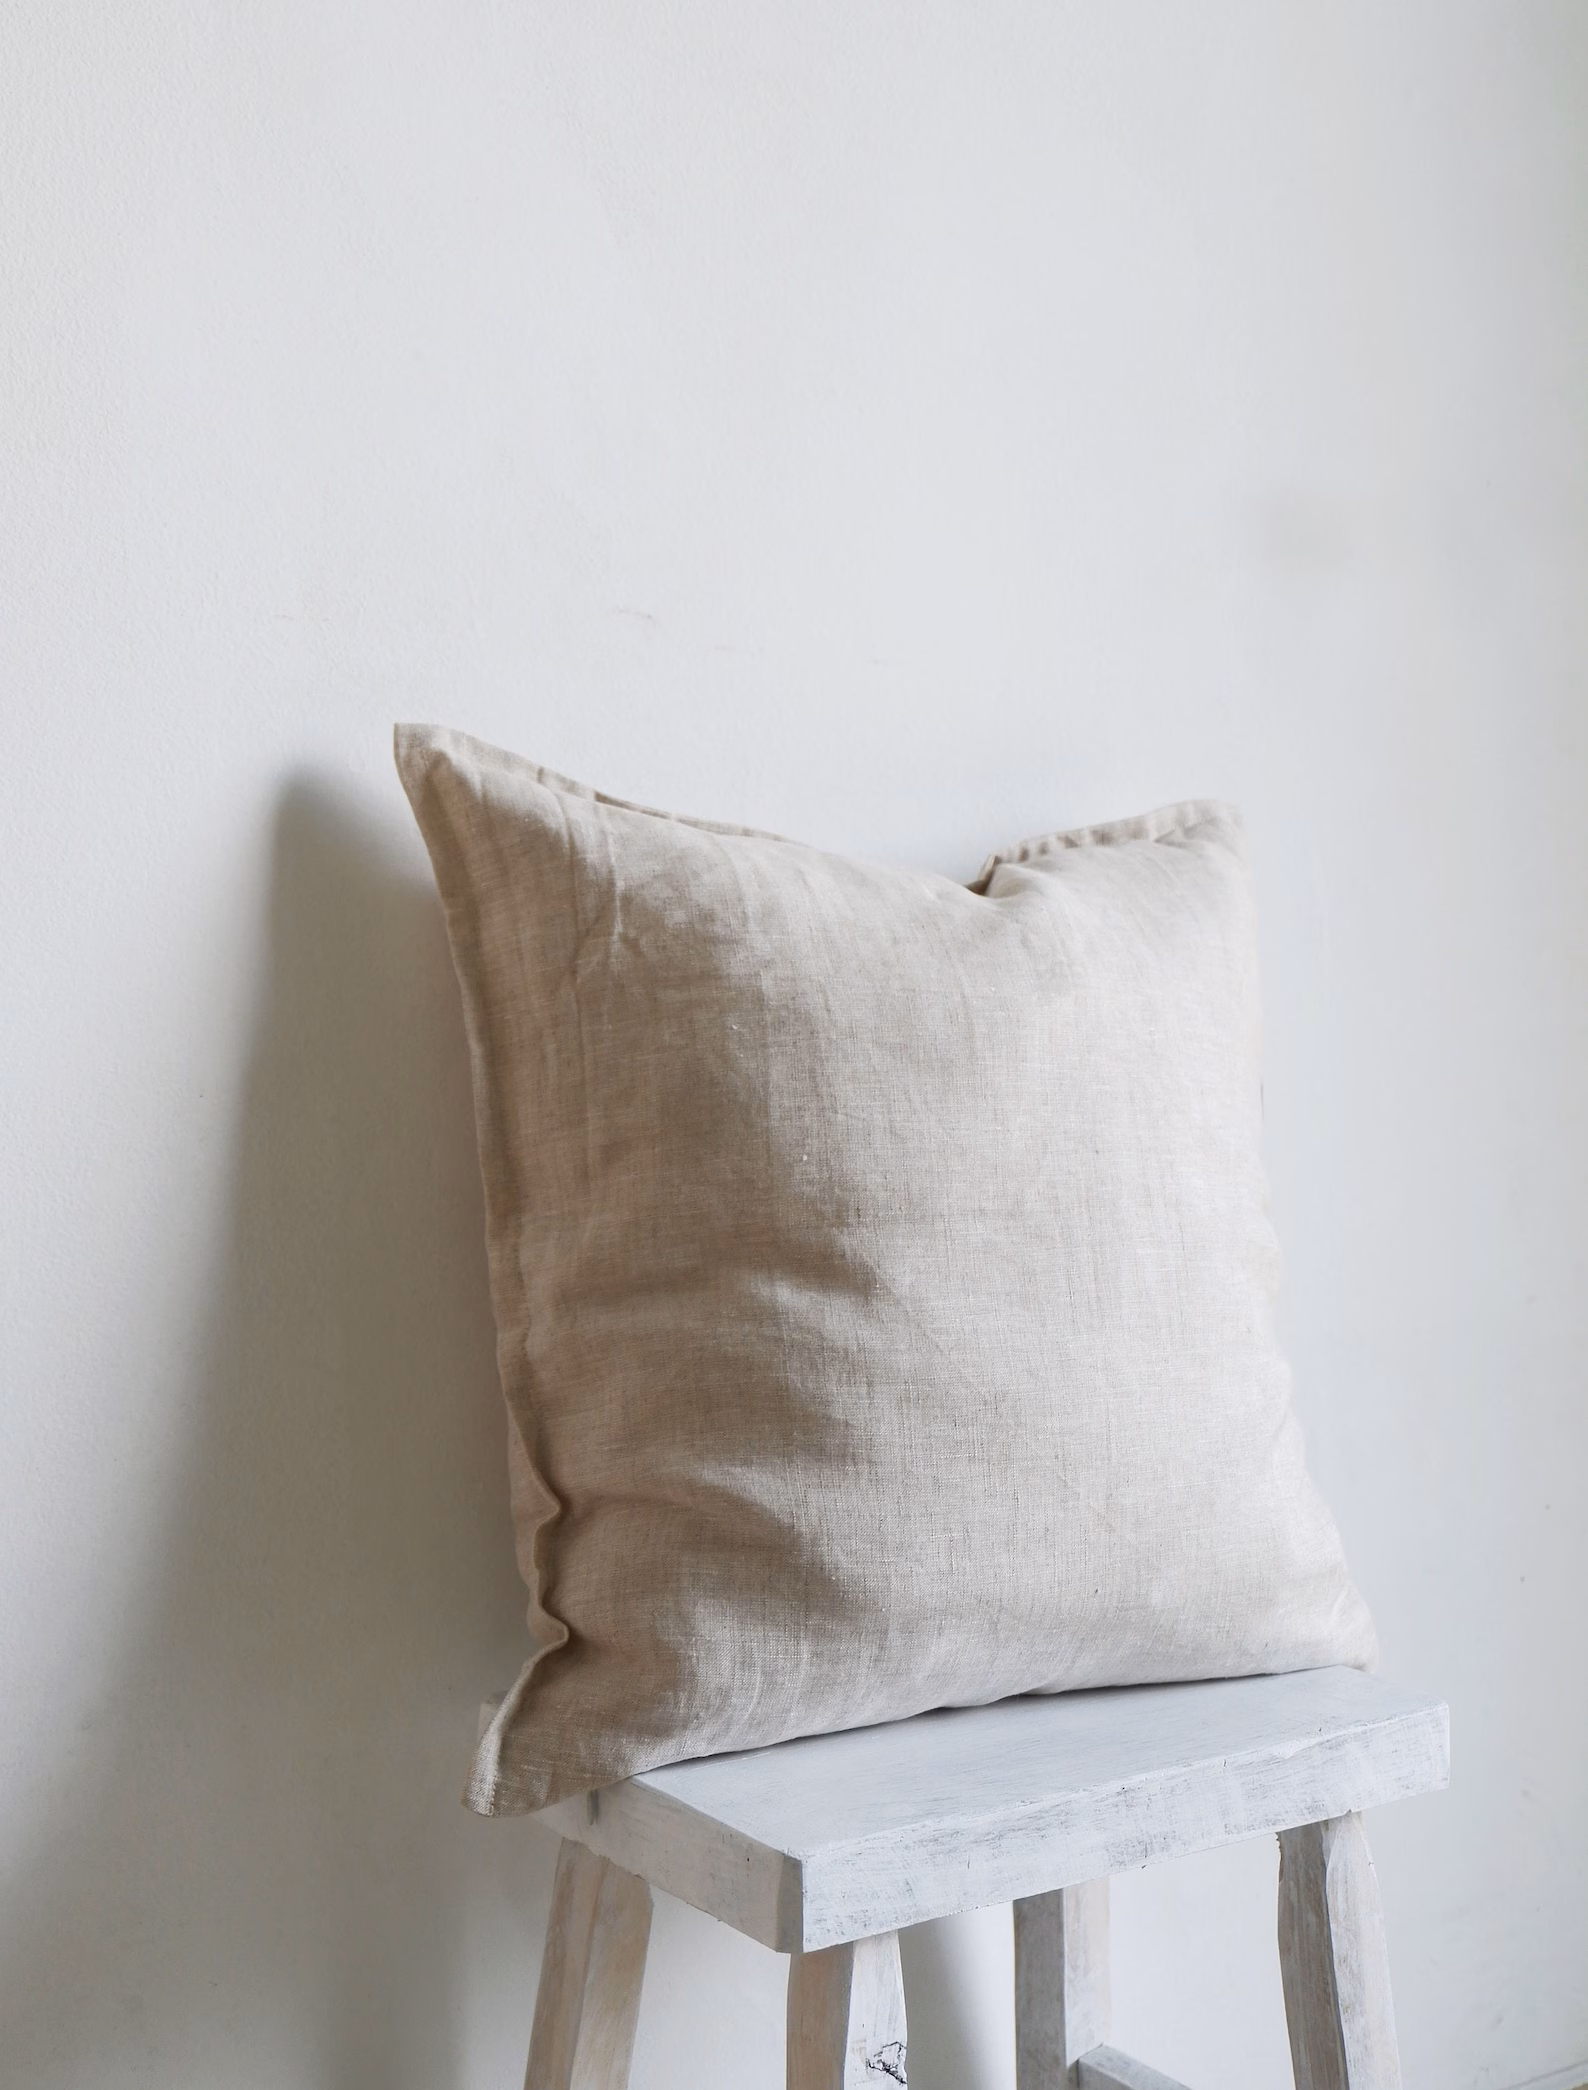
Pillow inserts on Amazon are cheap ($10–15 for a 2-pack), but cute pillow covers from boutiques are $50+. Sew (or no-sew with iron-on hem tape) your own from cute fabric — you can use cloth napkins, cotton tea towels, or actual fabric from Joann’s.
What you need: Pillow inserts, fabric, hem tape or basic sewing skills, scissors How to do it: Measure your insert. Cut fabric to size + 1 inch on all sides for seam. Hem the edges or use hem tape, sew/tape three sides, slide insert in, close the fourth side with stitching or velcro. Cost: $15–25 per pillow Time: 30 mins each Difficulty: Beginner
12. Beaded Door Curtain or Linen Room Divider
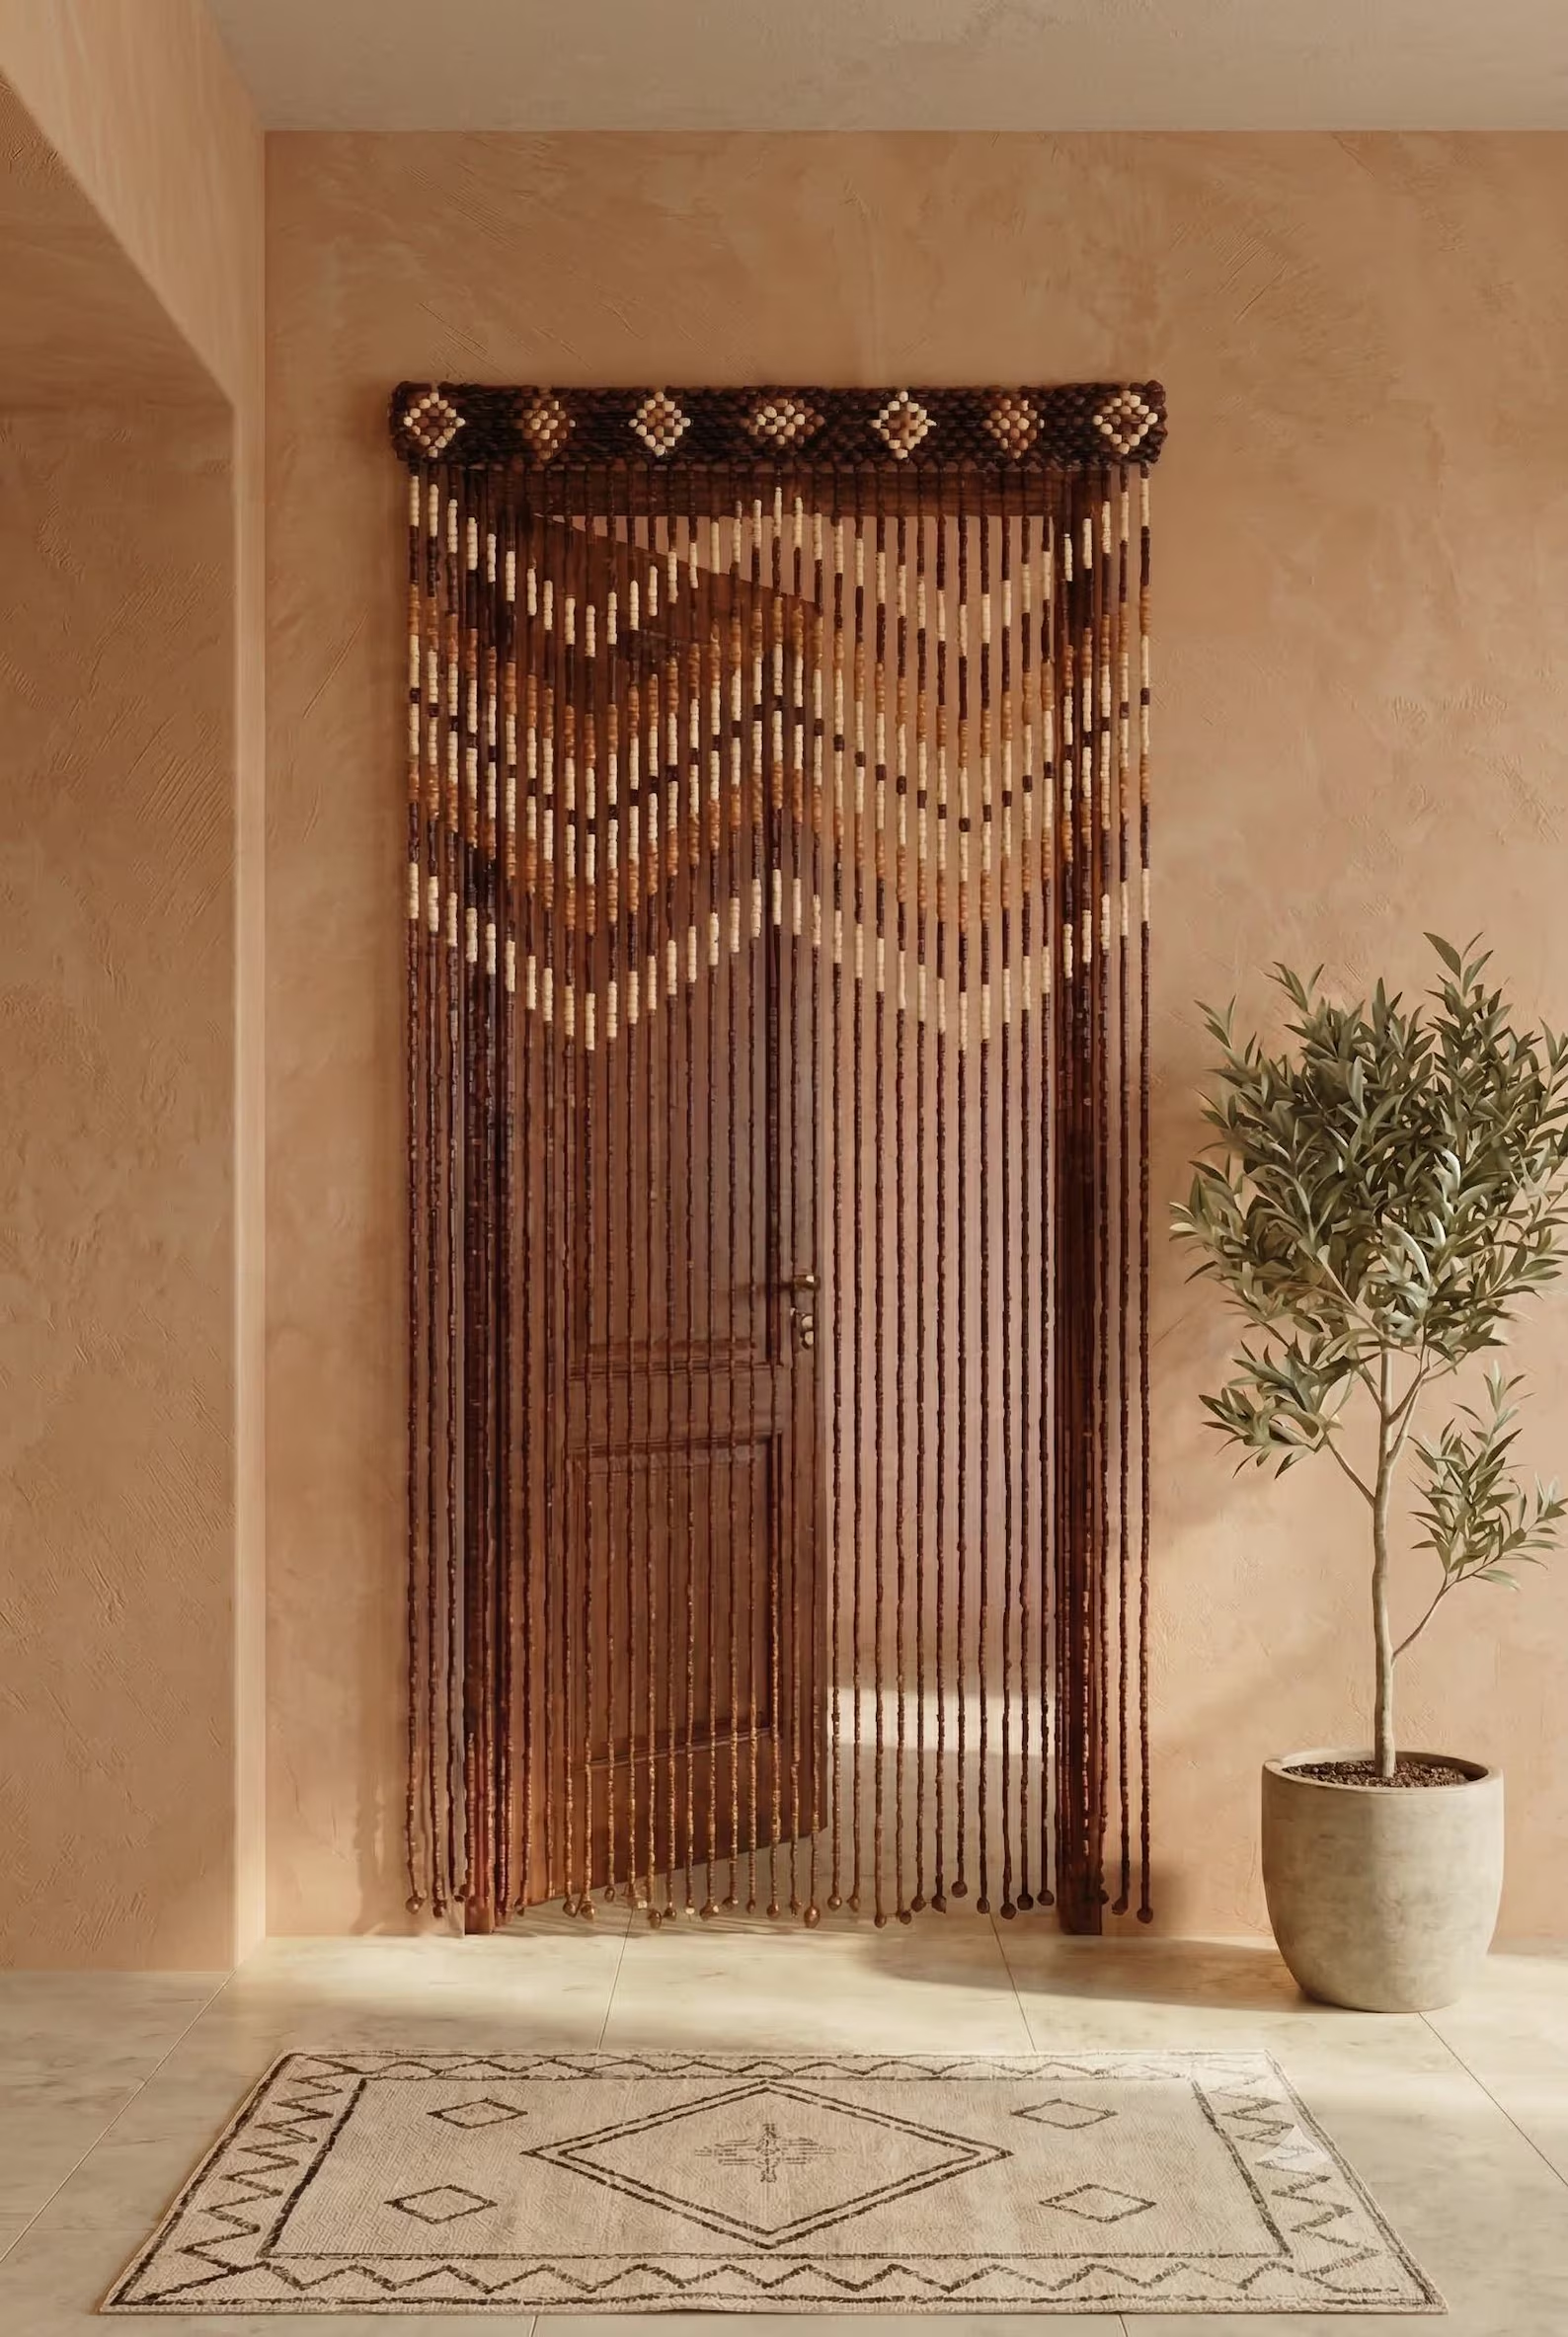
If you have a weird open closet, an awkward doorway, or want to divide a studio space, a hanging fabric panel or beaded curtain instantly fixes it without permanent changes.
What you need: A tension rod or curtain rod, fabric or beaded curtain How to do it: Hang tension rod, attach curtain. That’s it. Cost: $20–35 Time: 15 mins Difficulty: Beginner
13. Macrame Wall Hanging or Plant Hanger
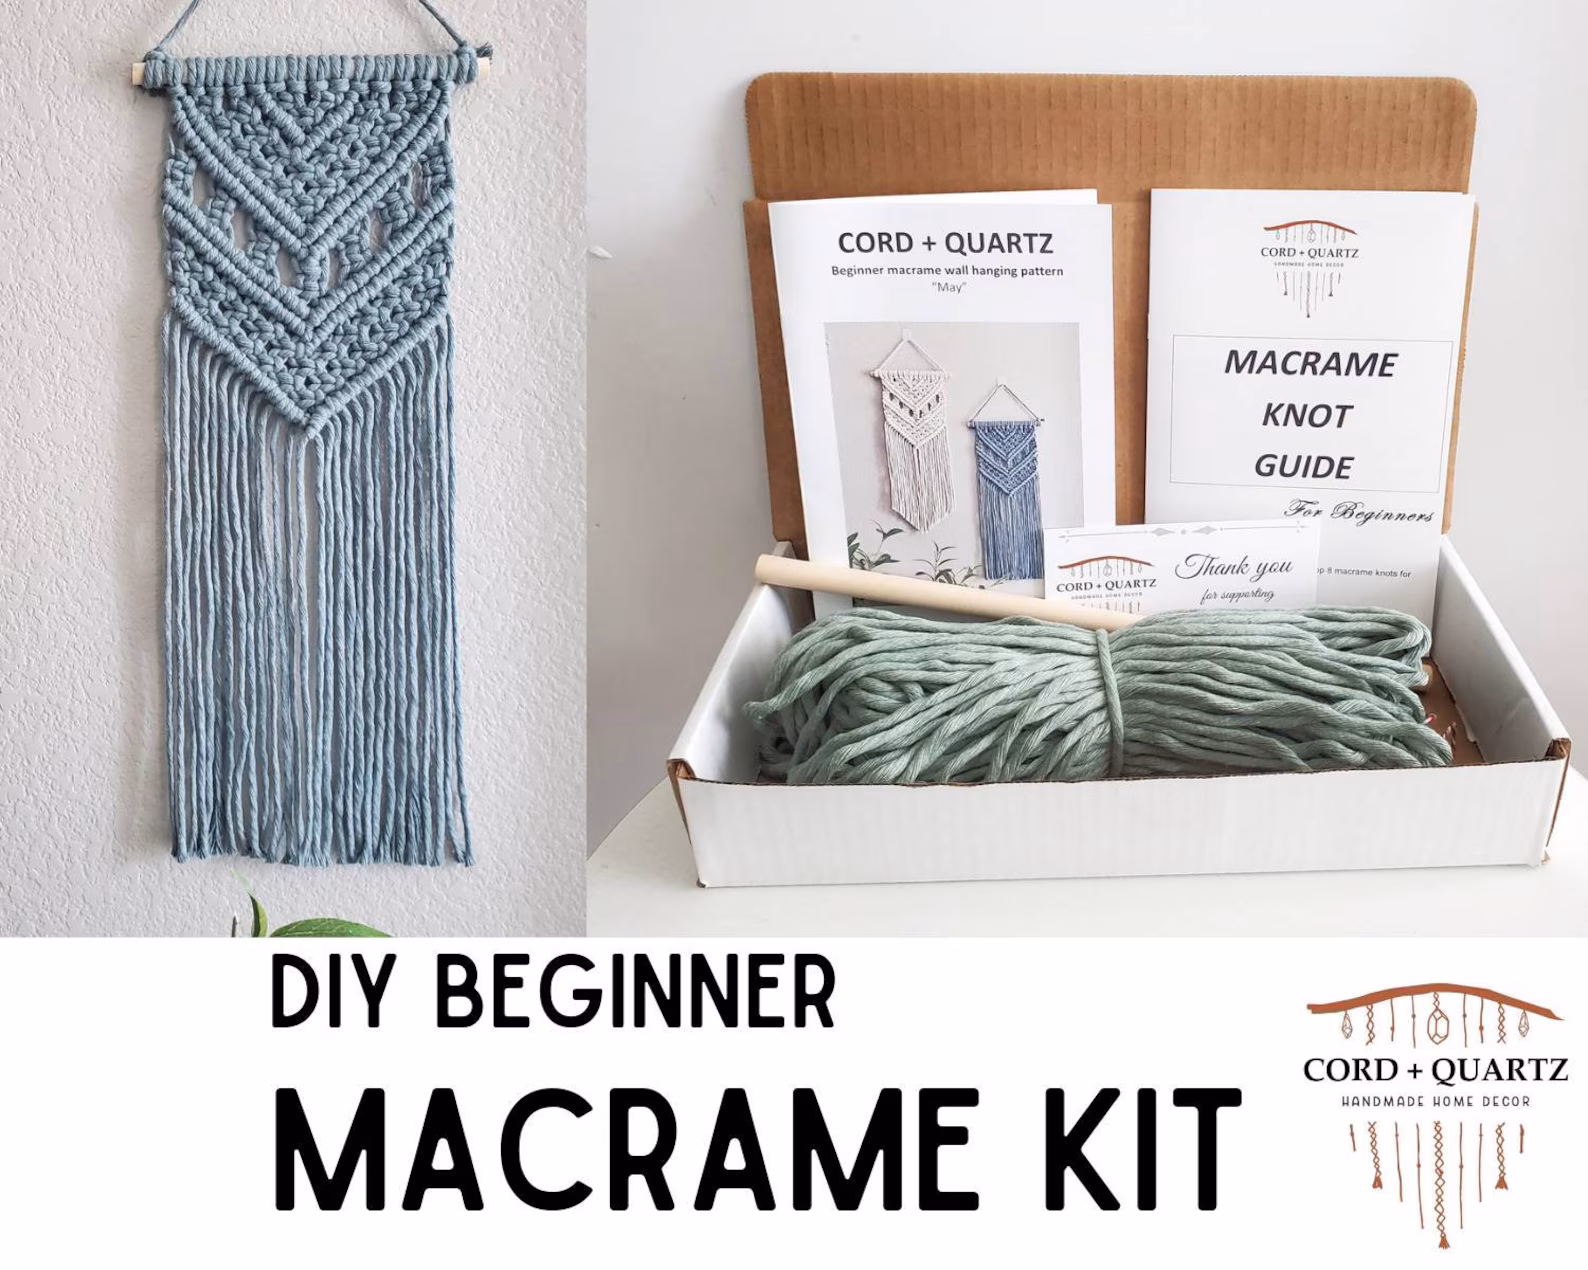
Macrame is making a comeback in a more refined, less “2014 hostel” way. Buy a kit and learn one knot — that’s all you need. Or skip the DIY and grab a pre-made one.
What you need: Macrame cord, a wooden dowel, a YouTube tutorial How to do it: Watch one 10-minute video on the lark’s head knot and the square knot. That’s 90% of macrame. Cost: $15–25 Time: 1–2 hours Difficulty: Beginner-intermediate
14. Painted or Decoupaged Tray
Take a cheap wooden or melamine tray, paint it or decoupage with pretty paper (vintage book pages, pretty wrapping paper, old maps), seal with Mod Podge, and use it on your coffee table or ottoman.
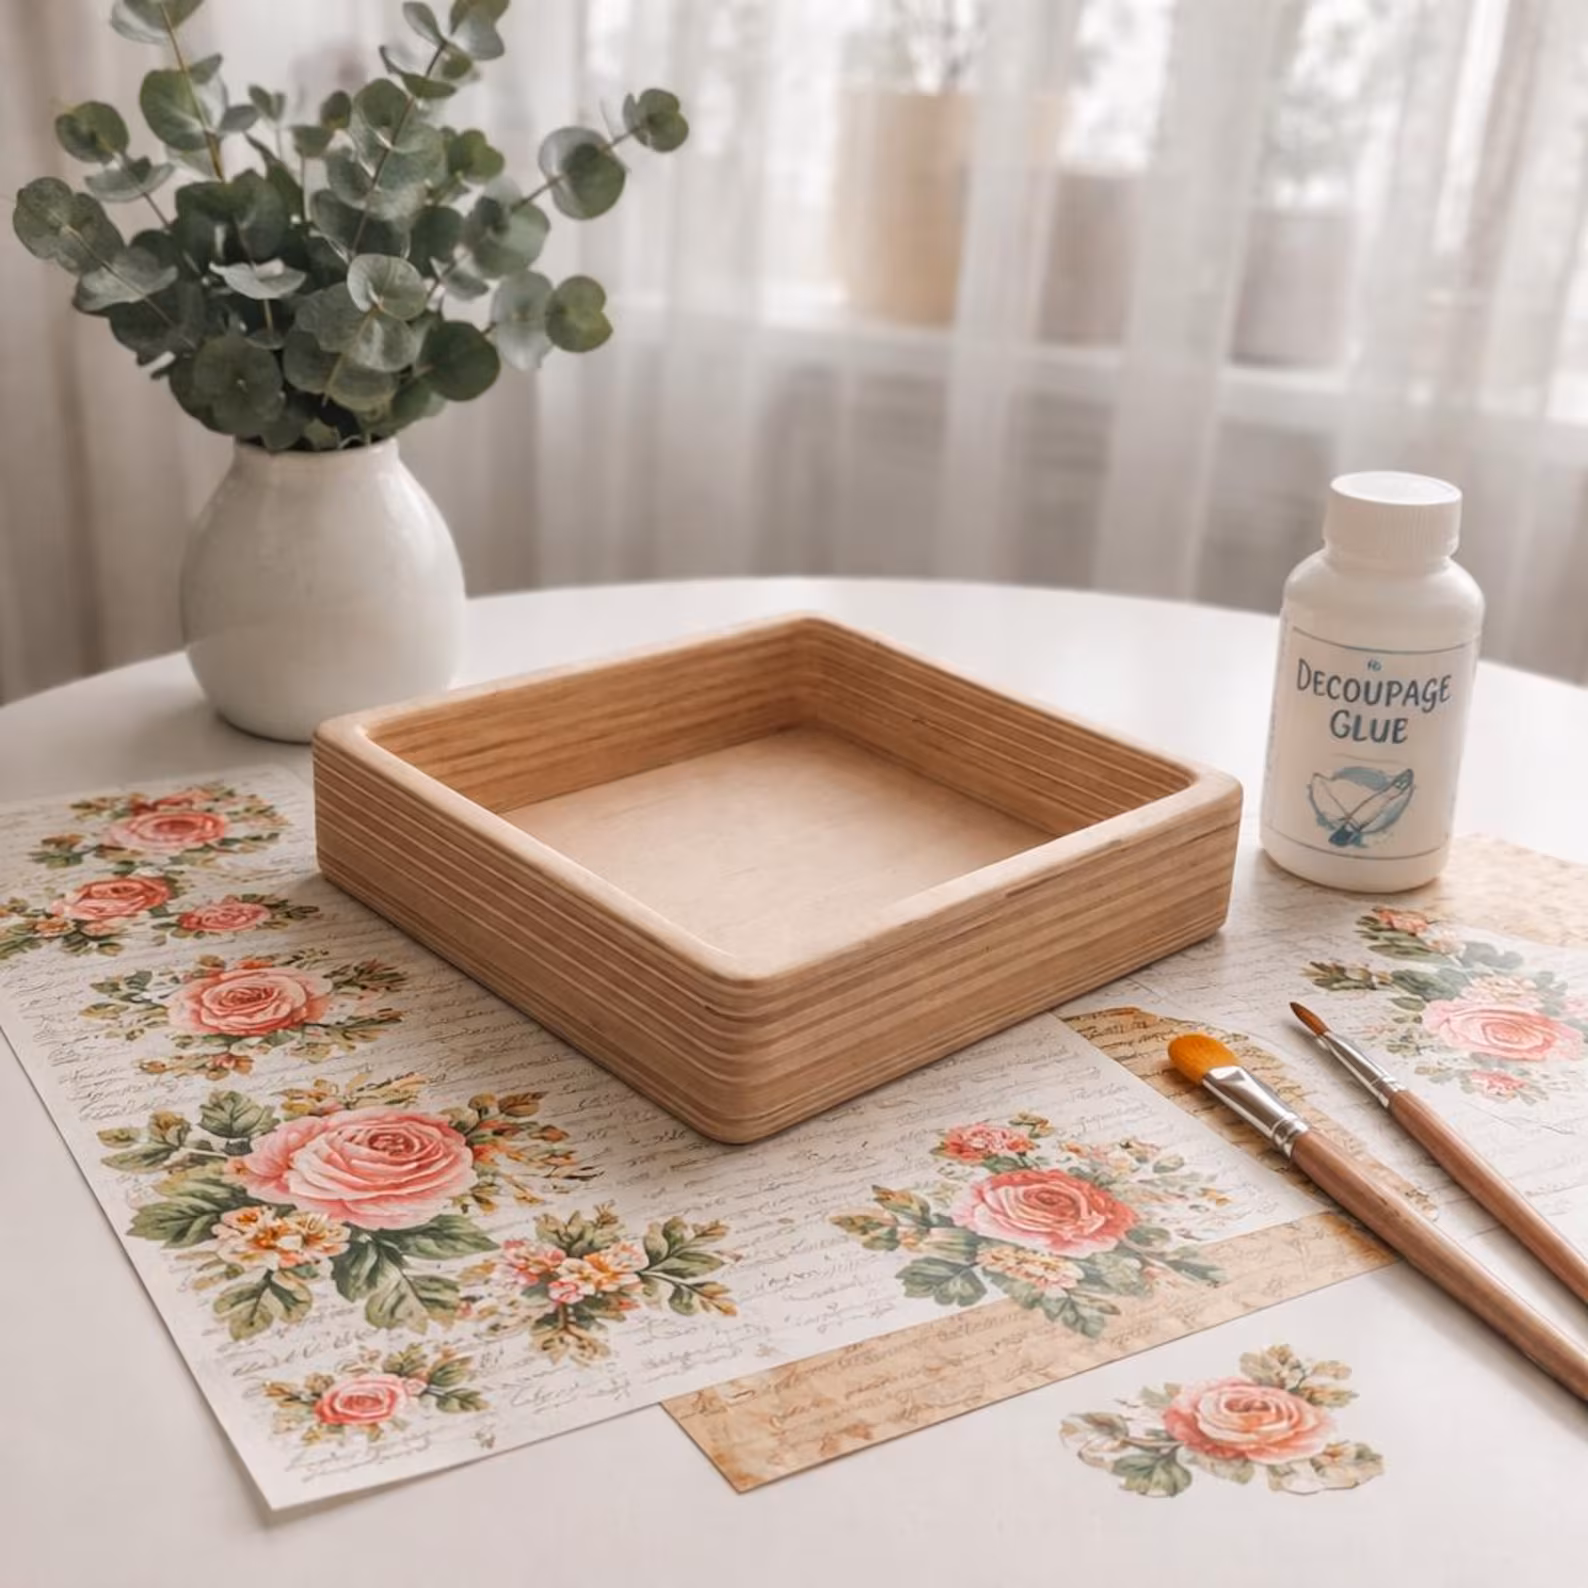
What you need: Plain tray ($10), Mod Podge, paper or paint, a foam brush How to do it: Apply Mod Podge to tray, lay paper, smooth flat, seal with another layer of Mod Podge. Let dry 24 hours. Cost: $15–20 Time: 30 mins + drying Difficulty: Beginner
15. DIY Coffee Table from Crates or Trunks
If you don’t have a coffee table yet, an old trunk from a thrift store, two stacked wooden crates from Home Depot, or even a vintage suitcase can become a stunning, character-filled coffee table.
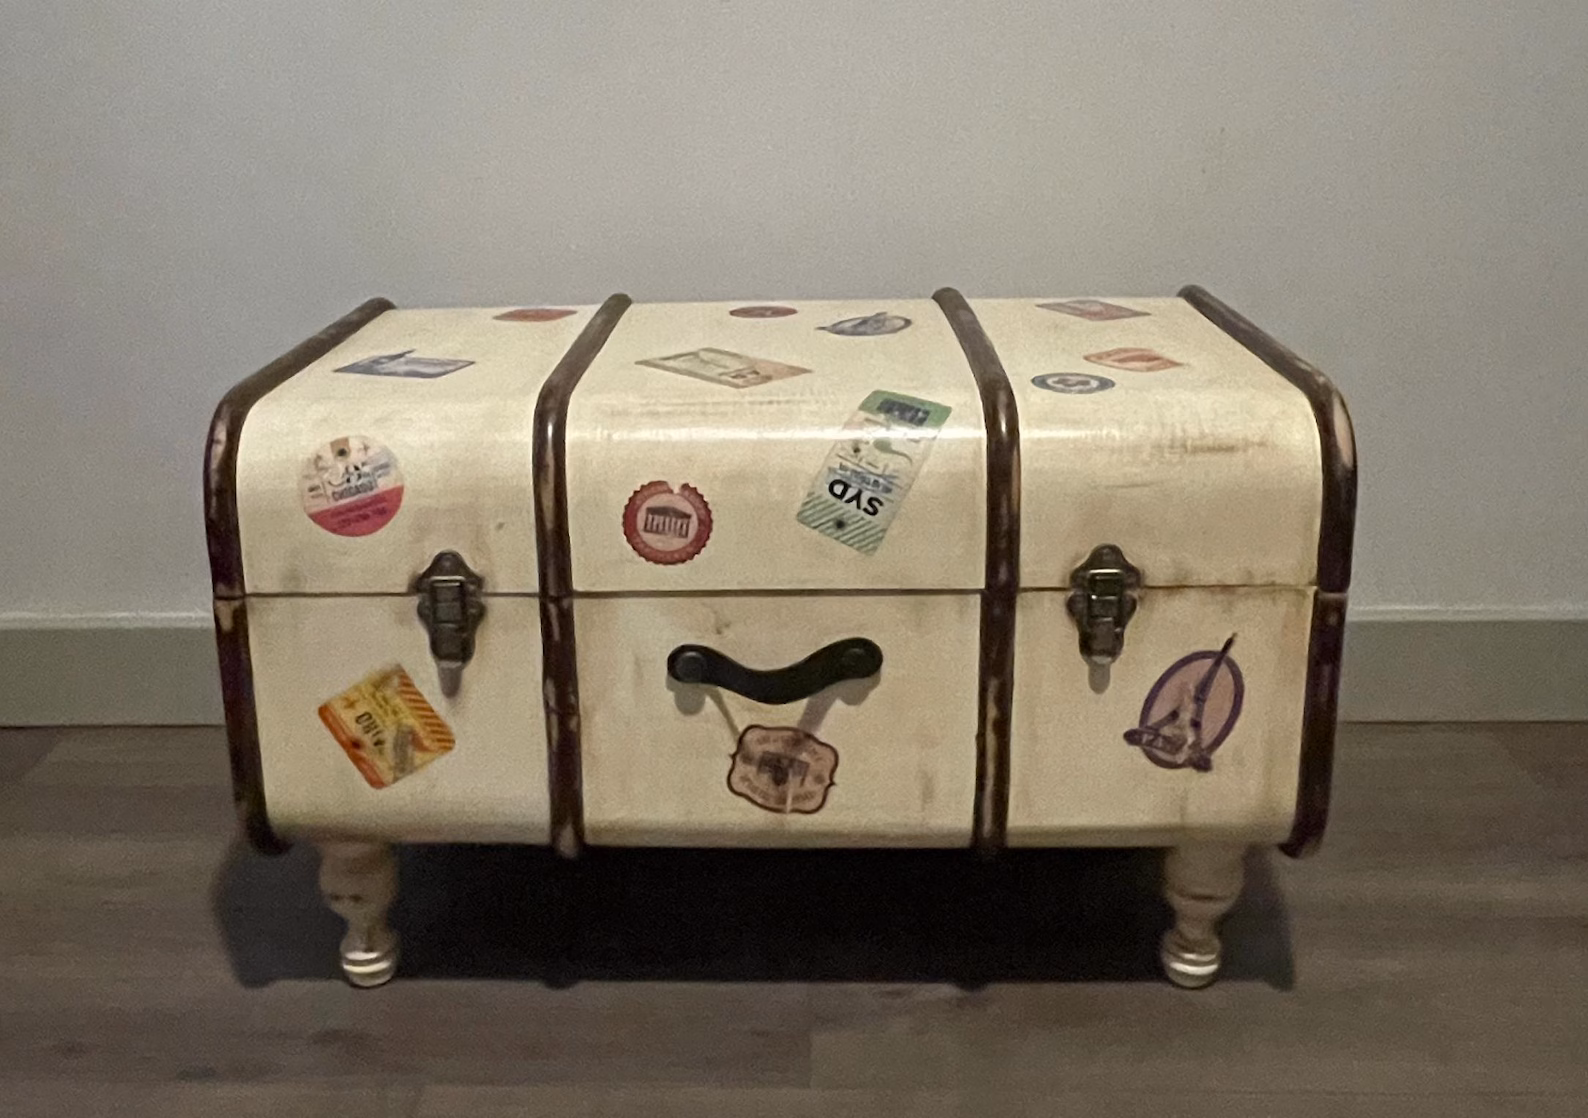
What you need: A trunk, wooden crates, or pallet (varies) How to do it: For crates: stack two, screw together for stability, paint or stain. For a trunk: just style it. Cost: $20–60 Time: 1–2 hours Difficulty: Beginner-intermediate
16. Removable Wallpaper Accent Wall
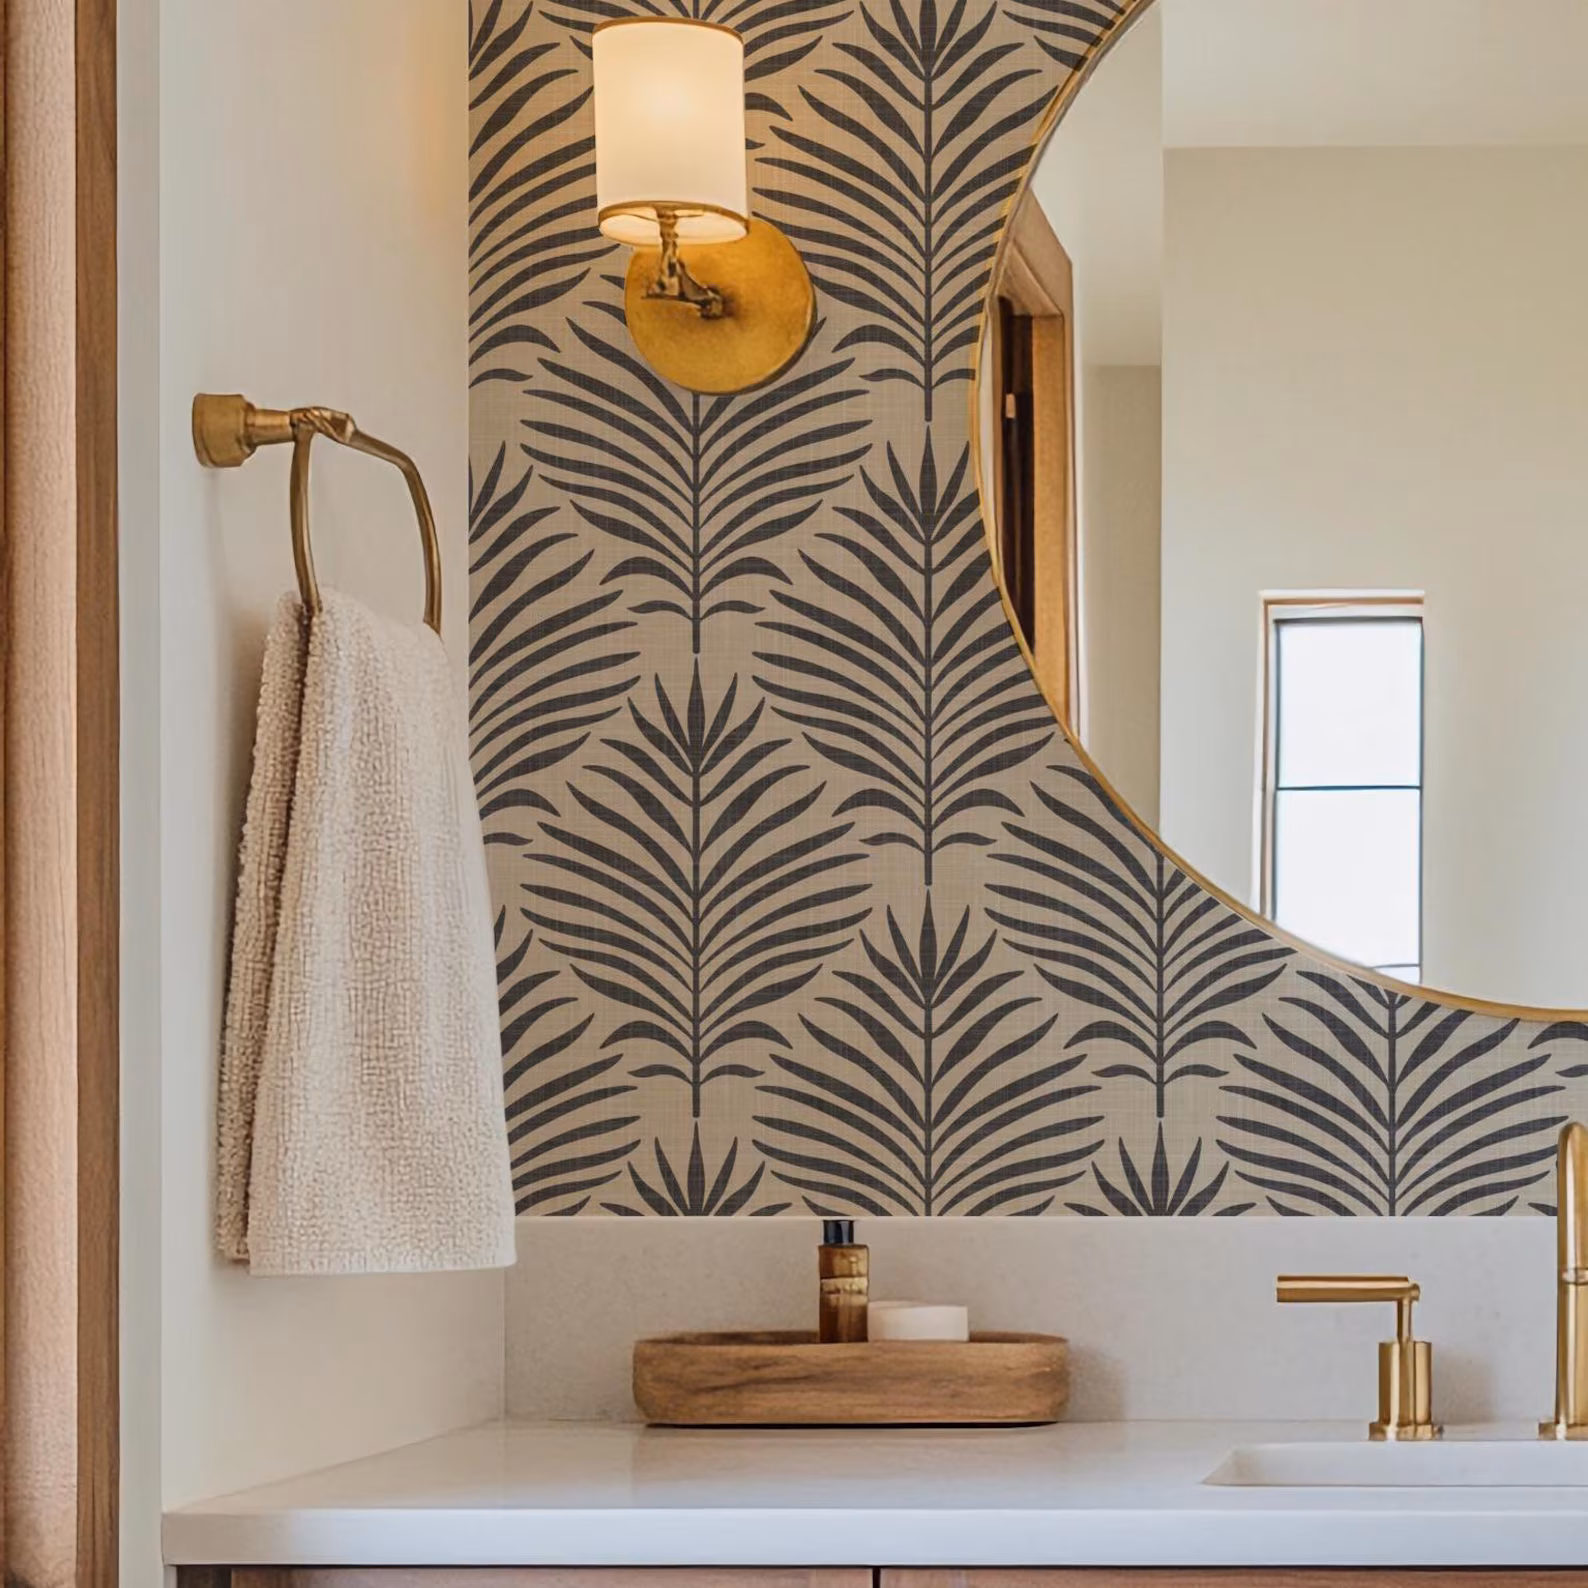
The single most transformative thing you can do to a rental. Pick one wall (behind your bed is best), pick a pattern that feels like you, and apply. It peels right off when you move out.
What you need: Peel-and-stick wallpaper (Tempaper, Chasing Paper, Spoonflower, or Amazon dupes), a smoothing tool, a utility knife How to do it: Clean the wall, measure, cut, and apply panel by panel from the top down. Smooth as you go. Cost: $80–150 for one accent wall Time: 2–3 hours Difficulty: Intermediate
17. Hanging Drying Rack as Plant Wall or Photo Display
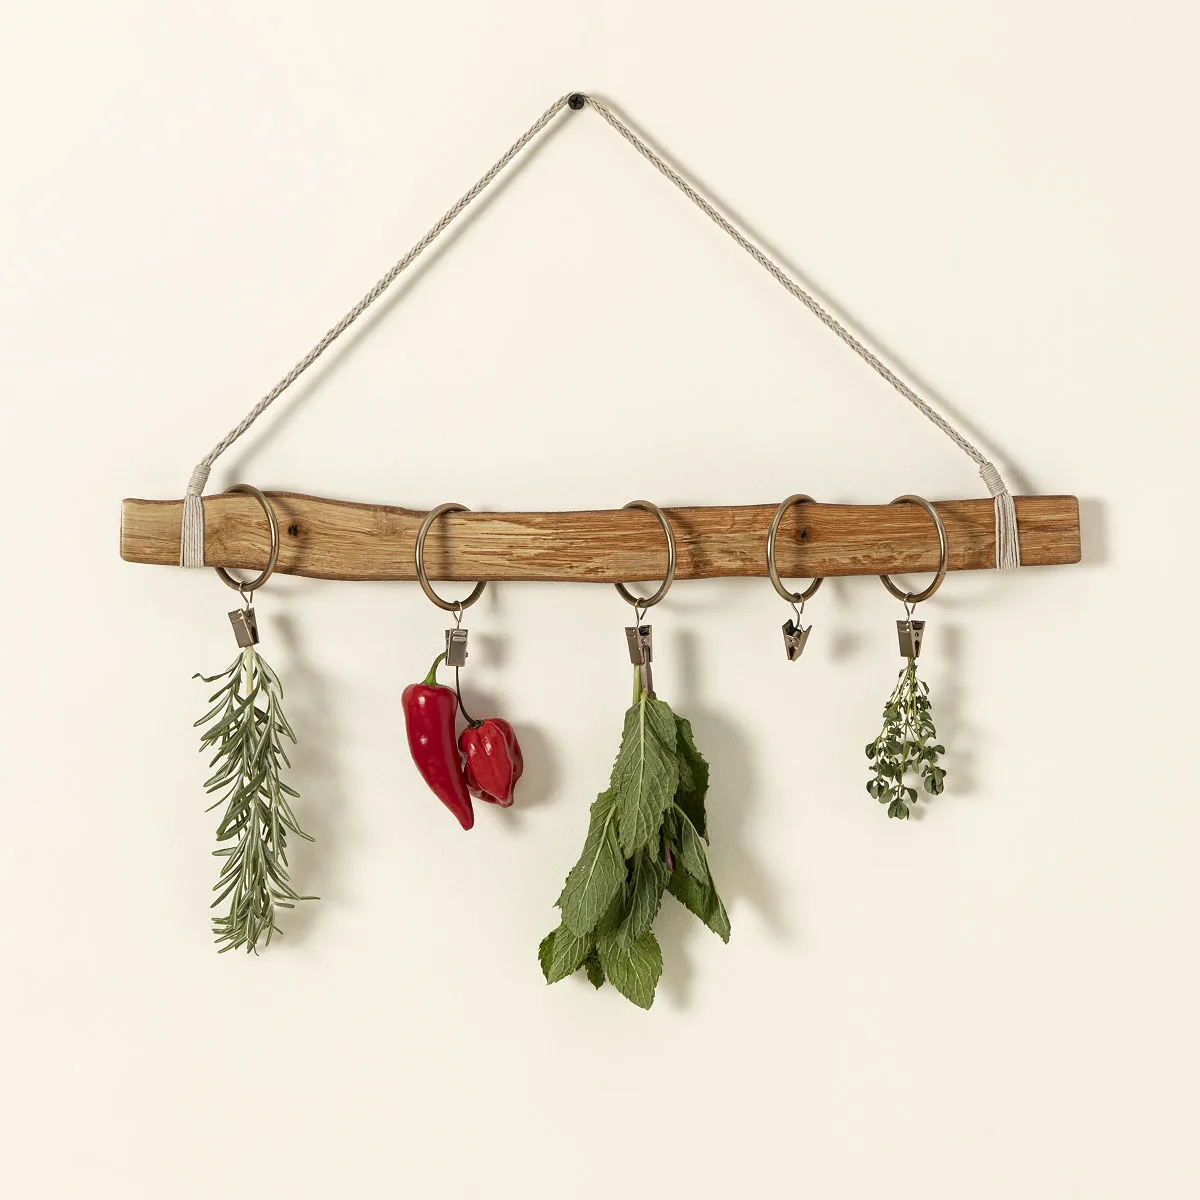
Take a wooden or metal hanging drying rack, hang it from the ceiling with hooks, and use it as a plant wall, photo display (clip pictures with mini clothespins), or jewelry organizer. Looks intentional and weirdly chic.
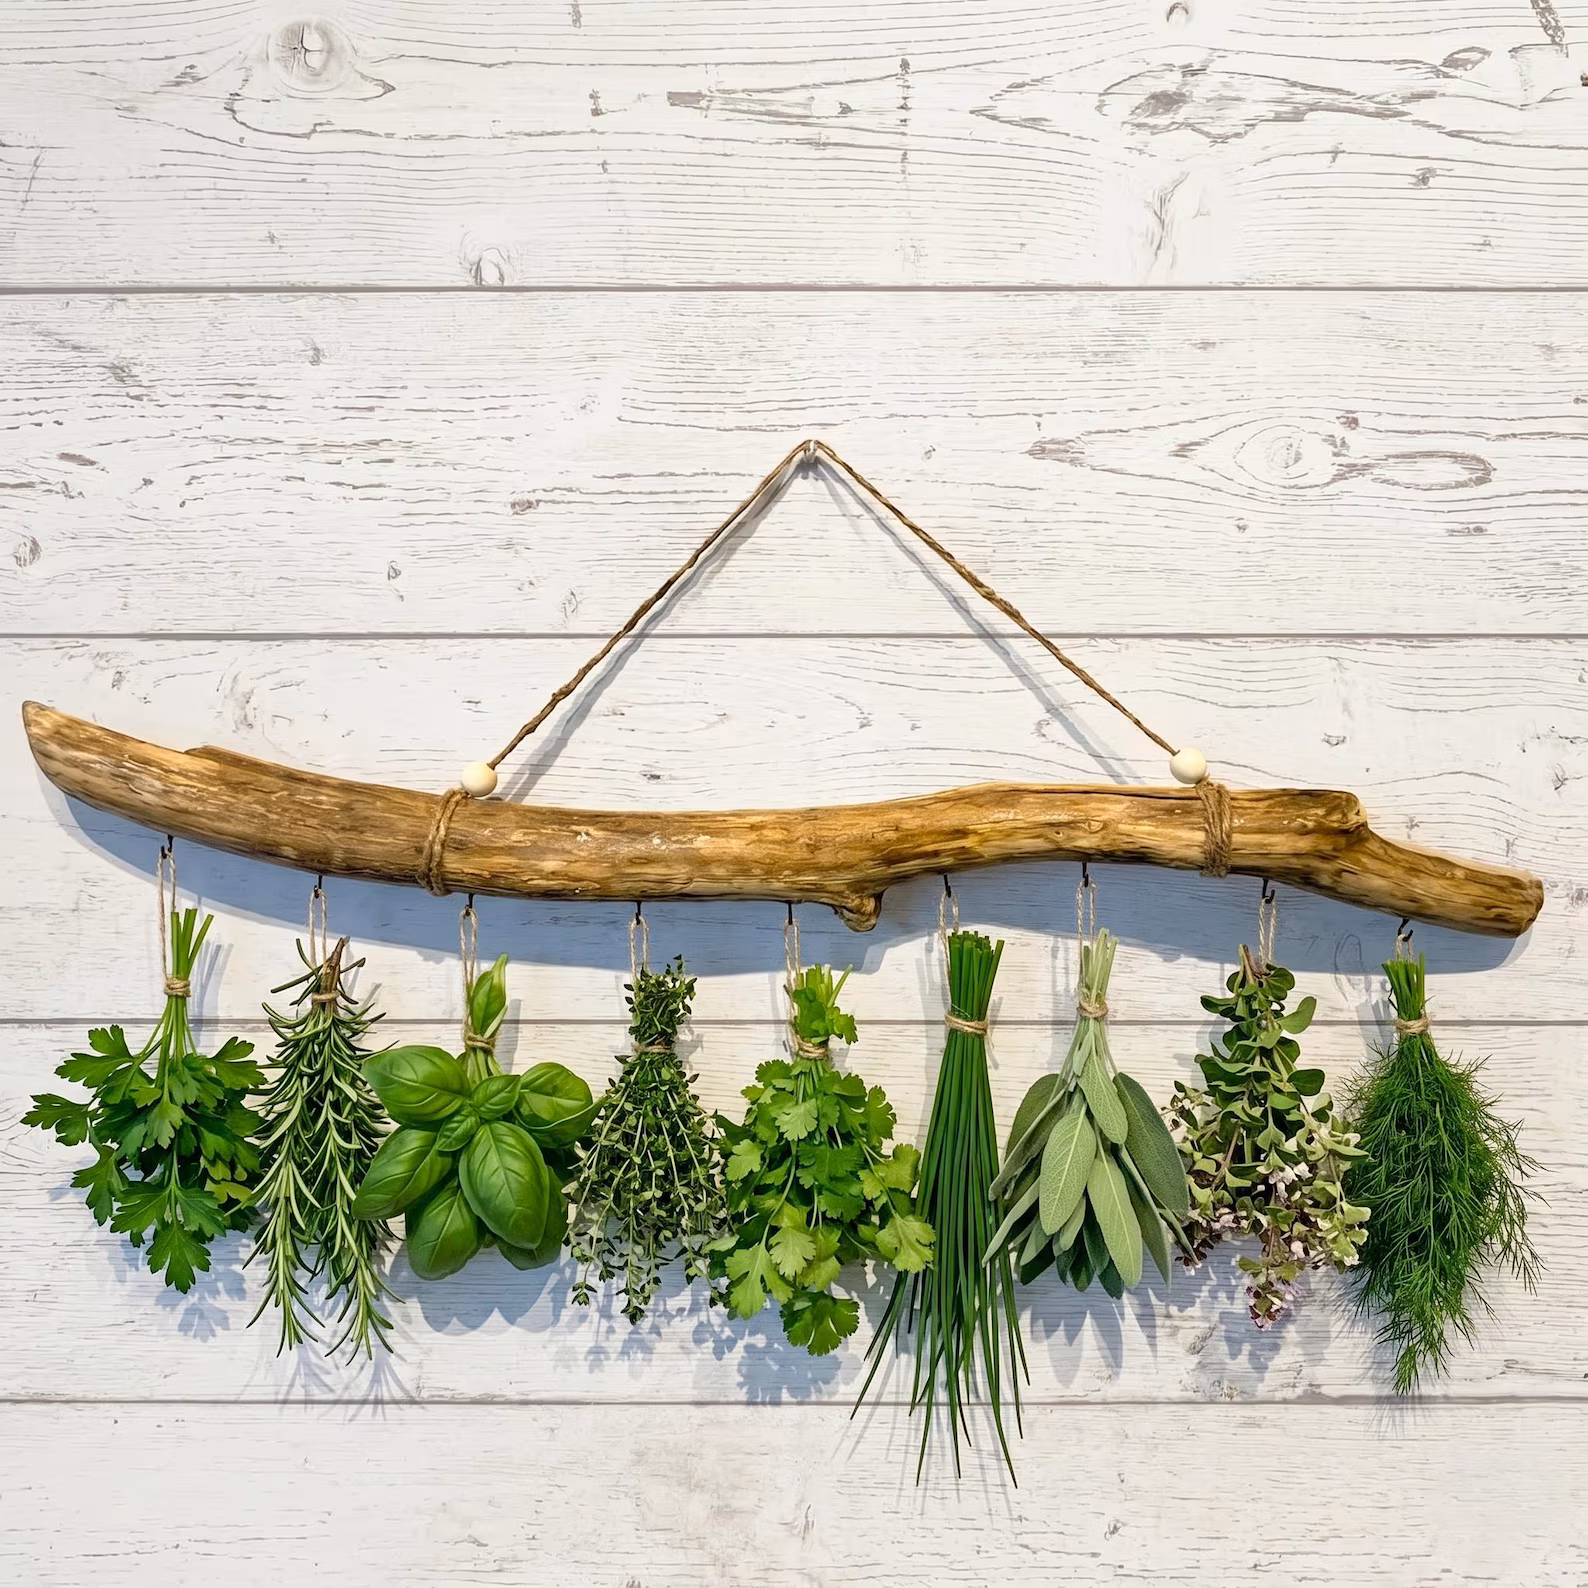
What you need: Hanging drying rack or clothes hanger, ceiling hooks, mini clothespins or curtain rings How to do it: Install ceiling hooks, hang rack, decorate. Cost: $25–40 Time: 30 mins Difficulty: Beginner
A Few Tools Every College Apartment DIYer Should Own
If you’re going to DIY more than one thing, invest in these basics. They’ll last you through every apartment you ever live in:
- A small drill ($30 on Amazon, life-changing)
- A glue gun (still essential, sorry)
- Command strips, command hooks, painter’s tape, and tension rods (the trifecta of renter-friendly DIY)
- A staple gun (under $20, you’ll use it more than you think)
- A small toolkit with a hammer, screwdrivers, measuring tape, and level
You can buy all of this on Amazon as a starter kit for under $50 and have it for the rest of your life.
The biggest mistake people make with DIY is trying to do all of it in one weekend. Pick one project. Do it well. See how you feel about it. Then do another one in a month. Your apartment is supposed to evolve — the best ones look like they were collected over time, not assembled at IKEA on a Saturday.
The other thing? Give yourself permission to mess up. Your first painted arch will be slightly wonky. Your first macrame might look like a toddler made it. That’s okay — the imperfect, hand-made vibe is literally trending right now. You’re not doing it wrong; you’re doing it 2026.
Now go thrift some plates.
This post was all about diy college apartment decorating ideas.